A rusty refrigerator can be an eyesore in any kitchen, and it can also negatively impact the overall atmosphere of your home. Not only does rust on a refrigerator diminish its appearance, but it can also indicate a deeper issue, such as a refrigerant leak or a loss of insulation. If you want to give your kitchen a facelift and avoid potential problems, painting your rusty refrigerator is a great solution. In this post, we’ll explore the benefits of painting a rusty refrigerator, the steps you need to take to prepare and paint it, and what types of paint and tools you’ll need. Whether you’re looking to revamp your kitchen, or simply want to cover up unsightly rust, this post has you covered.
So, do you want to know how to breathe new life into your rusty refrigerator and bring back the shine to your kitchen? Read on to find out how you can transform your rusty fridge into a stunning piece of kitchen decor with just a little bit of paint.
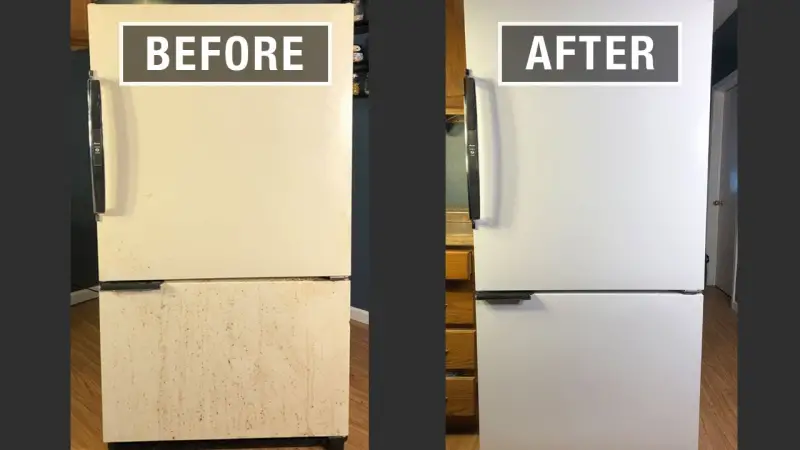
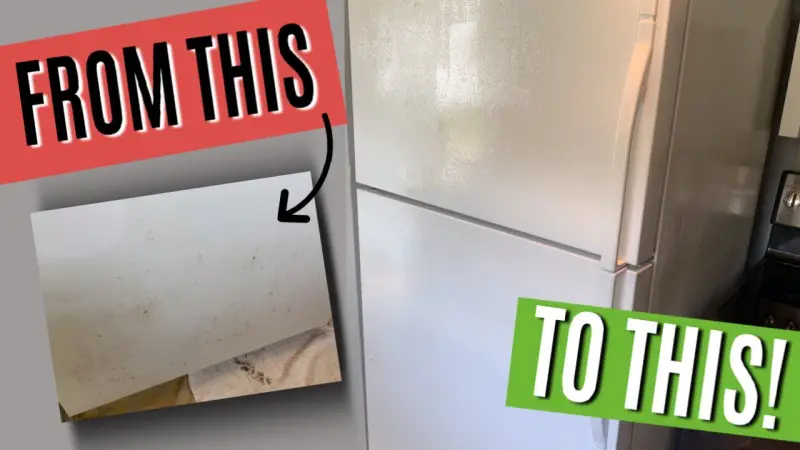
Paint Rusty Refrigerator Overview
To get started, you’ll need a few key items. First and foremost, you’ll need to choose the right paint. I highly recommend using a rust-inhibiting primer and an appliance-grade enamel paint. These products are specifically designed for use on metal surfaces and will give you the best results. You’ll also need some sandpaper or a wire brush to remove any loose rust and smooth out the surface of the refrigerator, as well as a clean cloth to wipe down the surface.
The painting process itself is relatively straightforward. After removing the rust and cleaning the surface, simply apply the rust-inhibiting primer and let it dry completely. Then, apply a thin, even coat of the appliance-grade enamel paint, using a brush or roller. I found that using a brush gave me more control and a smoother finish, but a roller will work just as well. Just be sure to apply thin, even coats and let each coat dry completely before applying the next. And that’s it! With just a little bit of time and effort, you’ll have a stunning new refrigerator that
looks like it’s straight out of a designer kitchen.
One thing to keep in mind when painting your rusty refrigerator is to choose a color that complements the rest of your kitchen decor. You can get creative and choose a bold, statement-making color or go for a classic, timeless look with a neutral color like white or stainless steel. The possibilities are endless, and the choice is yours!
In conclusion, painting your rusty refrigerator is a fun and cost-effective way to give your kitchen a fresh new look. With the right tools and materials, it’s a DIY project that anyone can tackle. So go ahead, grab your paintbrush, and let’s get started!
Paint Rusty Refrigerator – Methods in Comparison
- Sanding and Painting
This method involves sanding down the rust until it’s smooth and then painting over it with a rust-inhibiting primer and an appliance-grade enamel paint. This method is great for small areas of rust and can effectively cover it up and prevent further rusting.
Pros:
- Cost-effective
- Easy to do yourself
- Can effectively cover up small areas of rust
Cons:
- Time-consuming
- May not be effective for large areas of rust
- Requires a lot of manual labor
- Rust Converter
Rust converters are chemical solutions that convert rust into a stable compound, effectively sealing it and preventing further rusting. This method is great for large areas of rust, as it doesn’t require sanding and painting.
Pros:
- Easy to apply
- Effective for large areas of rust
- Can prevent further rusting
Cons:
- Can be expensive
- May require multiple coats for maximum effectiveness
- Requires a wait time before painting over the rust converter
- Replacing the Rusty Panel
If the rust is extensive and cannot be effectively dealt with through sanding and painting or using a rust converter, then the best solution may be to replace the rusty panel. This method is the most expensive and time-consuming, but it will effectively solve the problem and give you a brand new refrigerator.
Pros:
- Solves the problem of rust permanently
- Gives you a brand new refrigerator
- Good for extensive rust
Cons:
- Expensive
- Time-consuming
- May require professional assistance
| Method | Pros | Cons |
|---|---|---|
| Sanding and Painting | Cost-effective, Easy to do yourself, Can effectively cover up small areas of rust | Time-consuming, May not be effective for large areas of rust, Requires a lot of manual labor |
| Rust Converter | Easy to apply, Effective for large areas of rust, Can prevent further rusting | Can be expensive, May require multiple coats for maximum effectiveness, Requires a wait time before painting over the rust converter |
| Replacing the Rusty Panel | Solves the problem of rust permanently, Gives you a brand new refrigerator, Good for extensive rust | Expensive, Time-consuming, May require professional assistance |
In conclusion, each of these methods has its own pros and cons, and the best method for you will depend on the extent of the rust and your personal preferences. If you’re dealing with small areas of rust, sanding and painting may be the best solution. If the rust is extensive, replacing the rusty panel may be the best option. Regardless of the method you choose, the important thing is to address the problem of rust on your refrigerator so that it can continue to serve you well for years to come.
Equipment To Work With Paint Rusty Refrigerator
| Equipment | Description |
|---|---|
| Sandpaper | Used to sand down the rust and prepare the surface for painting. |
| Rust converter (optional) | A chemical solution used to convert rust into a stable compound and prevent further rusting. |
| Primer | A rust-inhibiting primer applied before painting to help the paint adhere better and provide a smooth surface. |
| Appliance-grade enamel paint | A high-quality paint designed specifically for use on appliances, providing a durable finish that can withstand daily use. |
| Paintbrush or roller | Used to apply the primer and paint to the refrigerator. |
| Drop cloth or newspaper | Used to protect your work area and catch any drips or spills. |
| Screwdriver | Used to remove any hardware or panels that need to be painted. |
| Paint stripper (optional) | Used to remove old, chipped paint from the surface of the refrigerator. |
It’s important to have all of the necessary equipment on hand before you begin working on your rusty refrigerator, so you can complete the project in one session and avoid having to make multiple trips to the hardware store.
Step-by-Step Instruction On Paint Rusty Refrigerator
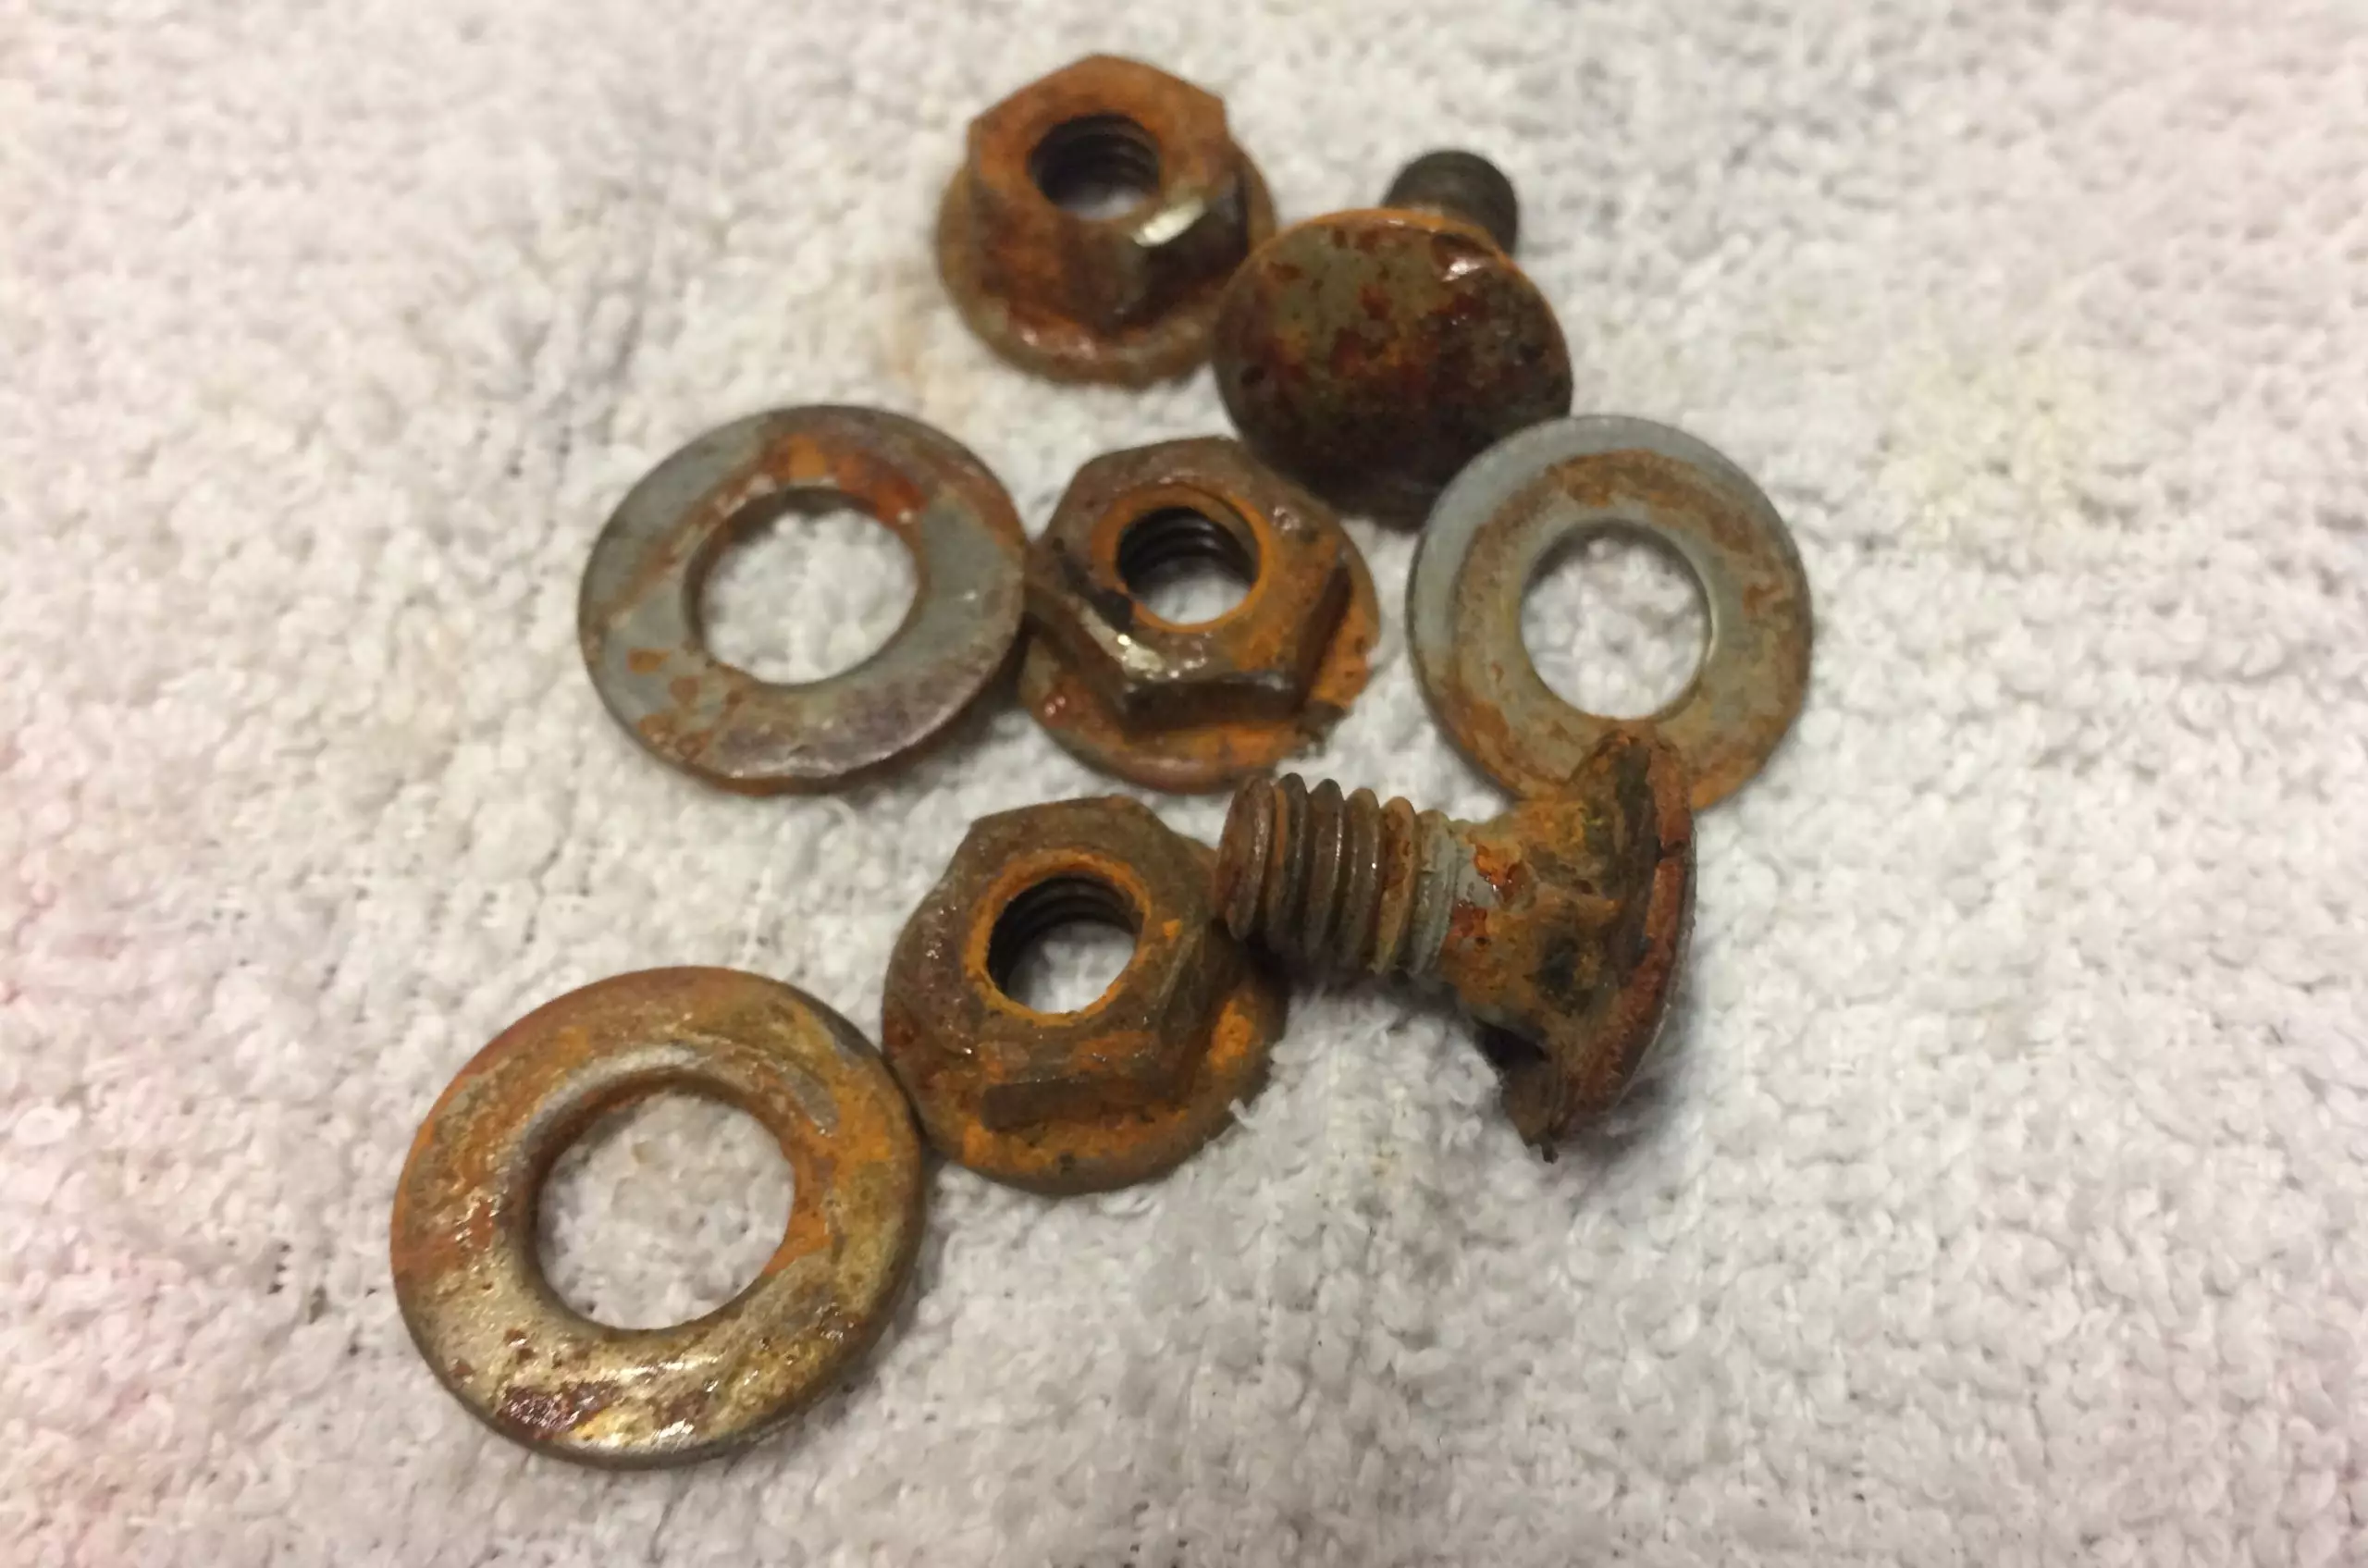
- Prepare the surface: Begin by removing any hardware or panels that need to be painted and covering the rest of the refrigerator with a drop cloth or newspaper. Sand down the rust with sandpaper until the surface is smooth, then clean the surface with a degreaser or soap and water to remove any dirt or grime.
- Apply rust converter (optional): If desired, apply a rust converter to the rusty areas using a brush. This will convert the rust into a stable compound and prevent further rusting. Follow the manufacturer’s instructions for drying time.
- Apply primer: Once the surface is clean and dry, apply a rust-inhibiting primer to the entire surface of the refrigerator, including the rusty areas. Use a paintbrush or roller to apply the primer in even, thin coats. Allow the primer to dry completely according to the manufacturer’s instructions.
- Paint the refrigerator: After the primer has dried, apply a coat of appliance-grade enamel paint to the entire surface of the refrigerator. Use a paintbrush or roller to apply the paint in even, thin coats. Allow the first coat to dry completely before applying a second coat if needed.
- Reattach hardware: Once the paint has dried completely, reattach any hardware or panels that were removed.
- Let the paint cure: Allow the paint to cure for at least 24 hours before using the refrigerator. This will allow the paint to fully dry and harden, providing a durable finish that can withstand daily use.
By following these steps, you’ll be able to paint a rusty refrigerator and give it a new lease on life. With a little time and effort, you’ll have a refrigerator that looks great and is ready to serve you for years to come!
F.A.Q.
Can I paint a rusty refrigerator without sanding down the rust?
Yes, it is possible to paint a rusty refrigerator without sanding down the rust, but it is not recommended. Sanding down the rust helps to create a smooth surface for the primer and paint to adhere to, resulting in a better overall finish.
Do I need to use a rust converter?
Using a rust converter is optional, but it can help to prevent further rusting and improve the adhesion of the primer and paint.
Can I use regular paint instead of appliance-grade enamel paint?
While you can use regular paint, appliance-grade enamel paint is specifically designed for use on appliances and provides a durable finish that can withstand daily use. Regular paint may not hold up as well over time.
How many coats of paint should I apply?
This depends on the type of paint you’re using, the surface you’re painting, and the desired finish. Generally, two thin coats are recommended for best results.
How long should I wait before using the refrigerator after painting?
Allow the paint to cure for at least 24 hours before using the refrigerator. This will allow the paint to fully dry and harden, providing a durable finish that can withstand daily use.

Leave a Reply