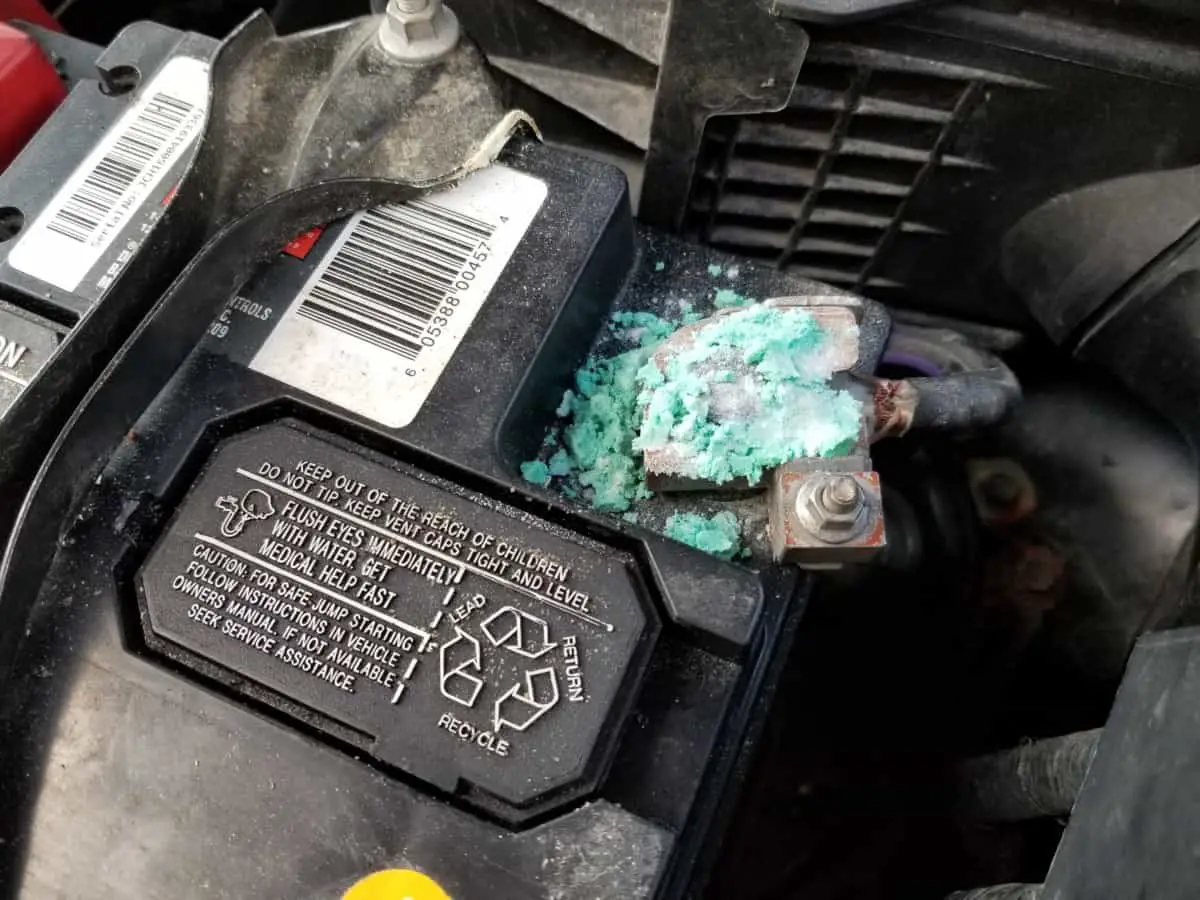
Rust is a common problem that occurs when metals are exposed to moisture and oxygen. Not only does it create an unattractive appearance, but it can also weaken the metal and cause it to deteriorate over time. However, there is a solution that allows you to restore the metal to its former glory – painting over rust.
In this blog post, we will explore the process of painting over rust and why it is an effective solution for preventing further corrosion. We will also provide tips on how to properly prepare the surface for painting and discuss the different types of paint that are best suited for this task. Additionally, we will address some of the most common mistakes that people make when painting over rust and how to avoid them.
If you’re tired of looking at rusted metal surfaces and want to learn how to restore them to their former beauty, keep reading. By the end of this post, you’ll have all the information you need to successfully paint over rust and protect your metal surfaces for years to come.
Painting Over Rust Overview
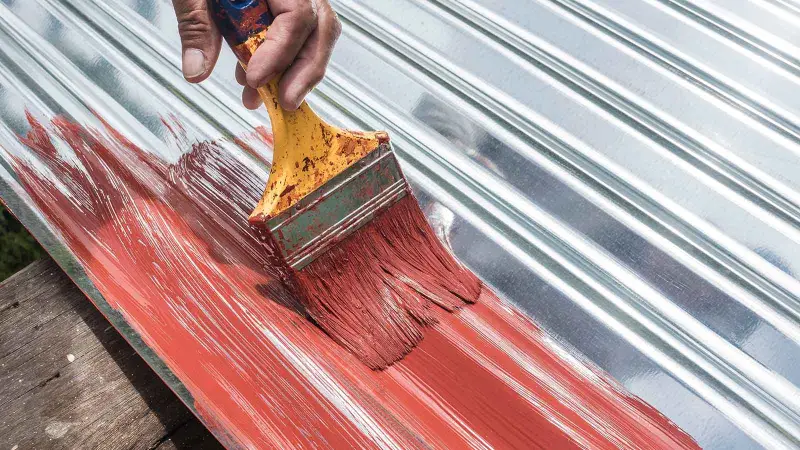
The process of painting over rust is surprisingly easy and straightforward. First, you’ll need to remove any loose rust and debris from the surface using a wire brush or sandpaper. Next, you’ll want to apply a rust converter to neutralize any remaining rust and prevent it from spreading. After letting the converter dry for a few hours, you can apply a coat of primer to ensure the paint adheres properly. Once the primer has dried, you can apply your paint of choice.
Speaking of paint, there are so many fantastic options available for painting over rust. Rust-Oleum is a popular brand that I’ve personally used and highly recommend. They offer a variety of colors and finishes, including metallic, matte, and glossy. I also love Krylon’s Rust Protector spray paint, which provides excellent coverage and durability.
One important thing to keep in mind when painting over rust is to use a paint that is specifically designed for this purpose. Regular paint may not adhere properly to the surface and may not provide adequate protection against further corrosion.
In terms of materials, I recommend using a good quality brush or roller for applying the paint. You’ll also want to make sure you’re working in a well-ventilated area and wearing protective gear such as gloves and a mask.
Painting Over Rust – Methods in Comparison
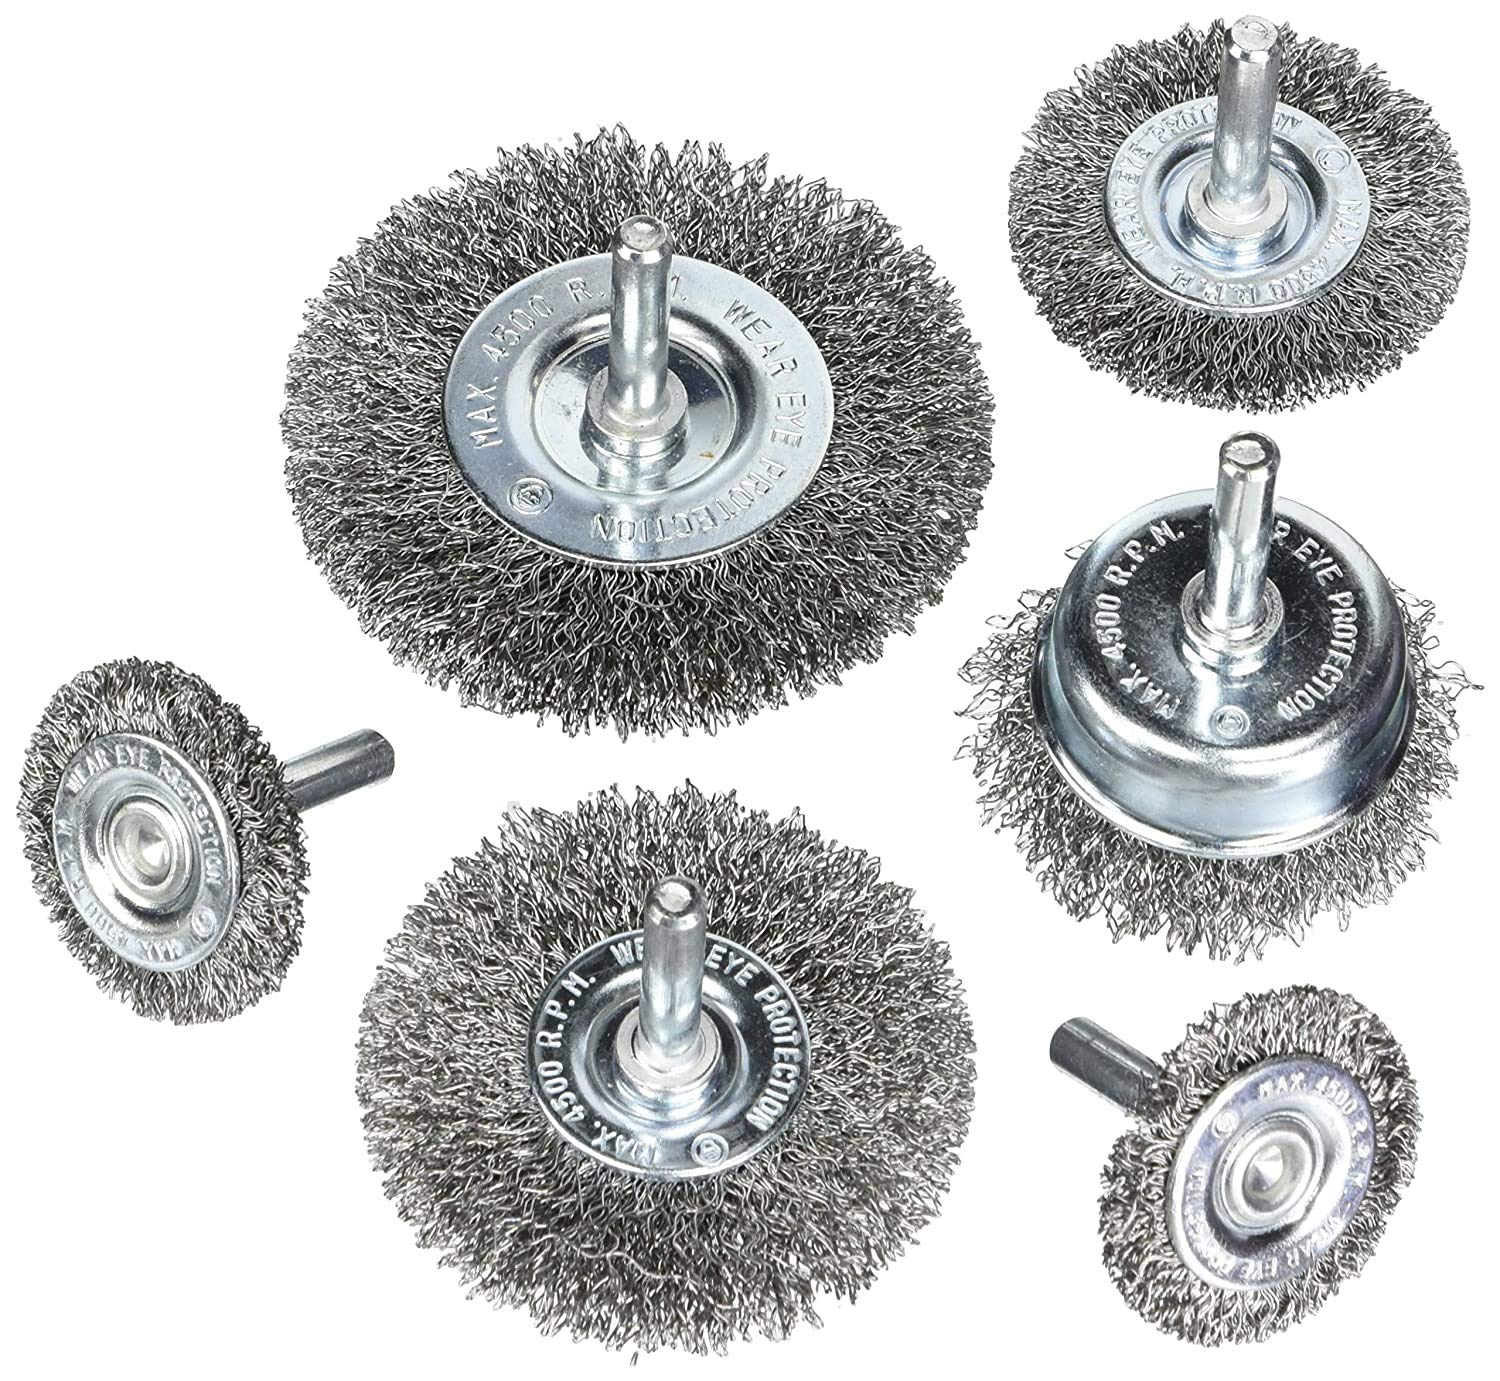
Method 1: Wire Brushing and Sanding Wire brushing and sanding are common methods for removing rust from metal surfaces. This method involves using a wire brush or sandpaper to physically scrub away the rust until the surface is smooth and clean. This method is a great option for small rust spots or surfaces that aren’t heavily rusted.
Pros:
- Relatively inexpensive method
- Can be done without any special equipment
- Can be effective for small rust spots
Cons:
- Can be time-consuming for larger rusted areas
- May not be effective for heavily rusted surfaces
- Can create a lot of dust and debris, requiring protective gear and proper ventilation
Method 2: Rust Converter A rust converter is a chemical solution that is applied to the rusted surface to chemically convert the rust into a paintable surface. Rust converters work by reacting with the rust to form a stable compound that can be painted over.
Pros:
- Can be effective for heavily rusted surfaces
- Provides a long-term solution by stopping rust from spreading
- Easy to use and doesn’t require any special equipment
Cons:
- Can be expensive compared to other methods
- Can take longer to dry and cure than other methods
- May require multiple applications for heavily rusted surfaces
Method 3: Sandblasting Sandblasting is a method that involves using compressed air to blast sand or another abrasive material onto the rusted surface, removing the rust and creating a smooth, clean surface for painting.
Pros:
- Can be very effective for heavily rusted surfaces
- Provides a very clean surface for painting
- Can be done relatively quickly
Cons:
- Requires special equipment and training
- Can be expensive compared to other methods
- Can create a lot of dust and debris, requiring proper ventilation and protective gear
Method 4: Grinding and Cutting Grinding and cutting are methods that involve using power tools such as grinders and saws to physically remove the rust from the surface.
Pros:
- Can be very effective for heavily rusted surfaces
- Provides a very clean surface for painting
- Can be done relatively quickly
Cons:
- Requires special equipment and training
- Can be expensive compared to other methods
- Can be dangerous if proper safety precautions aren’t taken
| Method | Pros | Cons |
|---|---|---|
| Wire Brushing/Sanding | Inexpensive, can be effective for small rust spots | Time-consuming for larger areas, may not be effective for heavily rusted surfaces |
| Rust Converter | Effective for heavily rusted surfaces, long-term solution | Can be expensive, may require multiple applications |
| Sandblasting | Very effective for heavily rusted surfaces, provides a clean surface | Requires special equipment and training, can be expensive |
| Grinding/Cutting | Very effective for heavily rusted surfaces, provides a clean surface | Requires special equipment and training, can be dangerous if safety precautions aren’t taken |
In conclusion, painting over rust is a problem that requires proper preparation and addressing of the rust before painting. Different methods are available, and the choice depends on the rust severity, available equipment, and budget. It’s important to weigh the pros and cons of each method before making a decision to ensure the best possible outcome for your
Equipment to Work With Painting Over Rust
| Equipment | Description |
|---|---|
| Wire brush | A handheld tool with stiff wire bristles for removing loose rust and debris from the surface |
| Sandpaper or sanding discs | Used to smooth the surface after wire brushing or sandblasting |
| Sandblasting equipment | Includes a sandblasting gun, air compressor, and sand or other abrasive material for blasting away rust |
| Chemical rust remover | A solution that is applied to the surface to dissolve and remove rust |
| Rust converter | A solution that is applied to the surface to convert rust into a paintable surface |
| Paint scraper | Used to remove any loose or peeling paint from the surface before painting |
| Paint and primer | Choose a paint and primer that are specifically designed for use on metal surfaces and provide rust protection |
| Paint sprayer or brush | Used to apply the paint and primer to the surface |
| Protective gear | Includes gloves, safety glasses, and a respirator or mask to protect against chemicals and dust while working |
Having the right equipment is essential for painting over rust and ensuring a smooth and long-lasting finish. Be sure to choose high-quality equipment that is appropriate for the size of the job and follow all safety precautions to protect yourself and the environment.
Step-by-Step Guide for Painting Over Rust
- Prep the Surface: Use a wire brush or sandpaper to remove any loose rust and debris from the surface. If the rust is extensive, you may need to use sandblasting equipment or a chemical rust remover to get a clean surface.
- Clean the Surface: Wipe down the surface with a clean cloth or paper towel to remove any dust or residue. If you used a chemical rust remover, be sure to follow the instructions for neutralizing the surface to prevent any leftover rust remover from interfering with the paint.
- Apply Rust Converter: If you have any remaining rust on the surface, apply a rust converter according to the manufacturer’s instructions. This will convert any remaining rust into a paintable surface and help prevent further rusting.
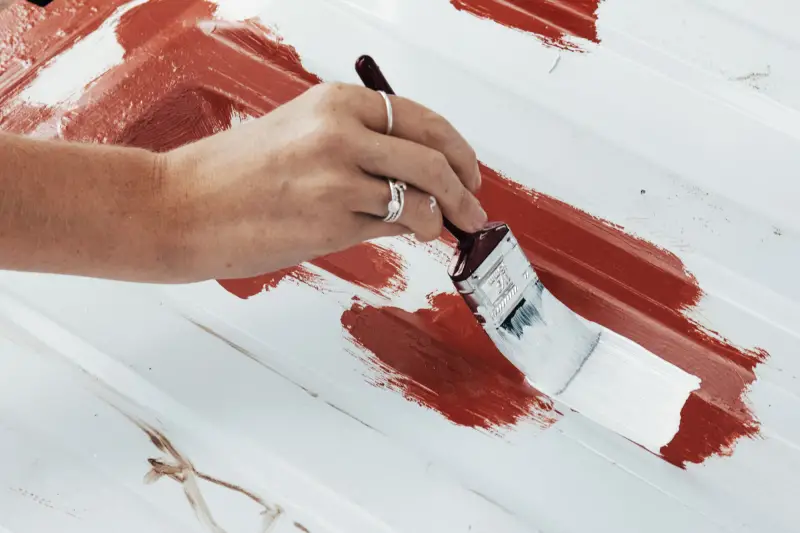
- Apply Primer: Apply a rust-inhibiting primer to the surface. Use a brush or paint sprayer to apply the primer evenly, following the manufacturer’s instructions for application and drying time.
- Sand the Surface: Once the primer is dry, use sandpaper or sanding discs to smooth the surface. This will ensure a smooth finish for the topcoat.
- Apply Topcoat: Apply the topcoat paint using a brush or paint sprayer. Use even strokes and follow the manufacturer’s instructions for application and drying time. You may need to apply more than one coat of paint for a smooth and even finish.
- Allow to Dry: Once the final coat of paint is applied, allow the surface to dry completely. This may take several hours or overnight, depending on the type of paint and the temperature and humidity.
F.A.Q.
Can I just paint over rust without removing it?
No, painting over rust without removing it first will not provide a long-lasting or effective solution. The rust will continue to spread underneath the paint and eventually cause the paint to peel and chip away.
How do I know if I need to use a rust converter?
If you still have visible rust on the surface after wire brushing or sanding, you should use a rust converter to convert the rust into a paintable surface. Rust converters work by chemically reacting with the rust and turning it into a stable compound that can be painted over.
What type of paint should I use for painting over rust?
You should use a paint that is specifically designed for use on metal surfaces and provides rust protection. Look for paints that are labeled as rust-inhibiting or rust-resistant.
Do I need to prime the surface before painting over rust?
Yes, it’s important to apply a rust-inhibiting primer before painting over rust. The primer will help to seal the surface and prevent further rusting, as well as provide a smooth base for the topcoat of paint.
Can I use a paint sprayer to apply the paint and primer?
Yes, a paint sprayer can be a great option for applying paint and primer to metal surfaces. However, it’s important to choose a sprayer that is appropriate for the job and follow the manufacturer’s instructions for use and cleaning. Be sure to wear protective gear, including a respirator or mask, when using a paint sprayer.
How long should I wait for the paint to dry before using the metal surface?
The drying time for paint will depend on the type of paint and the temperature and humidity. Follow the manufacturer’s instructions for drying time and wait until the surface is completely dry before using it. This may take several hours or overnight.
Leave a Reply