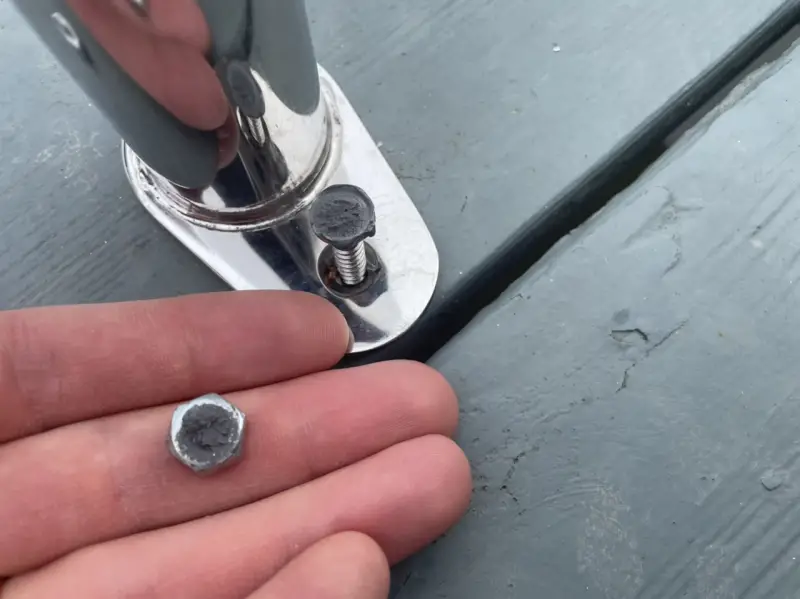
Have you ever tried to tighten a screw on a piece of metal, only to have the screw just keep spinning and spinning? It can be frustrating, especially if you’re working on a project that requires a tight and secure fit. Fortunately, there are a few tricks you can use to get that screw tightened down properly.
In this blog post, we’ll go over some common reasons why screws spin in metal and how to address each issue. We’ll also discuss some useful techniques for getting a better grip on the screw and using the right tools to make the job easier. With these tips, you’ll be able to tighten that stubborn screw and complete your project with confidence.
Whether you’re a DIY enthusiast or a professional metalworker, dealing with a spinning screw can be a common and frustrating problem. But with the right knowledge and approach, you can quickly and easily overcome this issue and get back to work. So let’s dive in and learn how to solve this issue once and for all!
How to Tighten A Screw That Keeps Spinning In Metal
First of all, let’s talk about some of the main reasons why screws can spin in metal. Sometimes, it’s simply a matter of the screw being worn down or stripped, in which case you may need to replace the screw or the entire fitting. However, more often than not, the problem can be solved by using some handy tools and techniques.
One method that has worked wonders for me is using rubber bands or adhesive tape to give the screw a better grip. Simply place a small piece of rubber band or tape over the head of the screw and then insert your screwdriver or drill bit. The extra friction will help the screw catch and turn more easily, allowing you to tighten it down properly.
Another helpful tip is to use a screw extractor or a left-hand drill bit to remove the screw entirely and then replace it with a new one. These tools are designed to grip onto the screw and turn it in the opposite direction, making it easier to remove even the most stubborn screws.
And finally, it’s always a good idea to make sure you have the right tools for the job. A high-quality screwdriver or drill bit can make all the difference in getting that screw tightened down securely.
In conclusion, there are definitely ways to tighten a spinning screw in metal, and I am excited to share these tips with you! Whether you’re a DIY enthusiast or a professional metalworker, having the right tools and techniques at your disposal can make all the difference in getting the job done quickly and effectively. So don’t be discouraged if you run into a spinning screw – just try out some of these methods and get that screw tightened down like a pro!
Methods of Tightening A Screw That Keeps Spinning In Metal
When working with metal, a common problem that you may encounter is a screw that keeps spinning and won’t tighten down properly. This can be a frustrating and time-consuming issue, but thankfully there are several effective methods to solve the problem. In this guide, we’ll explore the different methods for tightening a spinning screw in metal and compare the pros and cons of each method.
Before diving into the methods for solving the problem, it’s important to understand why screws can spin in metal. This can happen for several reasons, including:
- Stripped Threads: Over time, the threads on the screw or the fitting can wear down or become stripped, making it difficult or impossible to achieve a secure grip.
- Lubrication: If the screw or fitting is coated in lubricant or oil, it can be difficult to achieve a tight grip.
- Over-Tightening: If a screw has been over-tightened or cross-threaded, it can cause the screw to strip or damage the fitting.
Now that we understand the problem, let’s explore some of the methods for solving it.
Method 1: Rubber Bands or Adhesive Tape
One simple and effective method for tightening a spinning screw in metal is to use a small piece of rubber band or adhesive tape. Place the rubber band or tape over the head of the screw, and then insert your screwdriver or drill bit. The extra friction will help the screw catch and turn more easily, allowing you to tighten it down properly.
Pros:
- Easy and quick to use
- Requires no special tools
- Inexpensive
Cons:
- May not work for heavily stripped or damaged screws
- Can be difficult to get a good grip on the screw if it is recessed or difficult to reach
Method 2: Screw Extractors or Left-Hand Drill Bits
If the screw is heavily stripped or damaged, you may need to remove it entirely and replace it with a new one. In this case, you can use a screw extractor or a left-hand drill bit to remove the screw.
A screw extractor is a tool that is designed to grip onto the screw and turn it in the opposite direction, making it easier to remove even the most stubborn screws. A left-hand drill bit, on the other hand, is a type of drill bit that is designed to turn in the opposite direction of a standard drill bit. This can help to loosen the screw and make it easier to remove.
Pros:
- Effective for heavily damaged or stripped screws
- Can be used to remove screws that are difficult to reach
Cons:
- Requires special tools
- Can be difficult to use, especially for inexperienced users
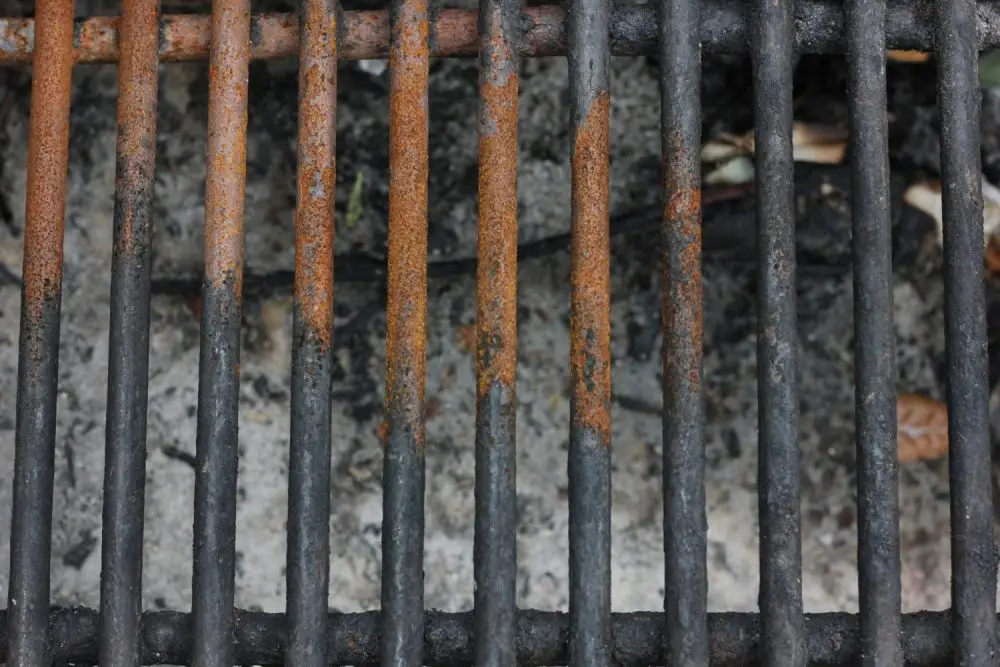
- May not be effective for screws that are heavily rusted or corroded
Method 3: Using a Larger Screwdriver
If the screwdriver or drill bit you are using is too small, it can be difficult to achieve a good grip on the screw. In this case, using a larger screwdriver or drill bit can help to provide more torque and make it easier to tighten the screw.
Pros:
- Can provide more torque and leverage
- Easy and quick to try
Cons:
- May not work for heavily stripped or damaged screws
- Can be difficult to get a good grip on the screw if it is recessed or difficult to reach
| Method | Pros | Cons |
|---|---|---|
| Rubber Bands or Adhesive Tape | Easy and quick to use, Requires no special tools, Inexpensive | May not work for heavily stripped or damaged screws, Can be difficult to get a good grip on the screw if it is recessed or difficult to reach |
| Screw Extractors or Left-Hand Drill Bits | Effective for heavily damaged or stripped screws, Can be used to remove screws that are |
Equipment To Work With Tighten A Screw That Keeps Spinning In Metal
| Equipment | Description |
|---|---|
| Screwdrivers | A tool with a metal rod and a shaped handle, used to turn screws |
| Drill Bits | A rotating cutting tool used to make holes in metal or tighten screws |
| Pliers | A tool with a hinged jaw used for gripping and holding objects |
| Vise Grips | A locking plier used for holding or clamping objects |
| Screw Extractors | A tool used to remove damaged or stripped screws |
| Left-Hand Drill Bits | A type of drill bit that turns in the opposite direction of a standard drill bit |
| Rubber Bands | A stretchable band that can be used to provide extra grip on a screw |
| Adhesive Tape | A sticky tape that can be wrapped around a screw to provide extra grip |
| Adjustable Wrenches | A tool with an adjustable jaw used for tightening and loosening nuts and bolts of various sizes. |
Step-by-Step Instruction On Tighten A Screw That Keeps Spinning In Metal
- Choose the right screwdriver: Start by selecting the right size and type of screwdriver that matches the screw. A poorly fitting screwdriver will only make the problem worse.
- Use pliers or vise grips: If the screwdriver is not working or the screw is too tight, use pliers or vise grips to grip the screw and apply additional force. Be sure not to over-tighten the screw.
- Apply pressure: Hold the screwdriver or pliers with one hand and apply pressure on the screw in the opposite direction. This will help to stabilize the screw and prevent it from spinning.
- Insert rubber bands: If the screw is still spinning, try inserting one or two rubber bands over the screw head. The rubber bands will provide extra grip and help to tighten the screw.
- Apply adhesive tape: If the rubber bands are not effective, try wrapping a piece of adhesive tape around the screw head. The tape will create a more secure connection and make it easier to tighten the screw.
- Use a left-hand drill bit: If the screw is stripped, use a left-hand drill bit to drill into the center of the screw. This will create a hole that will allow you to turn the screw counterclockwise and remove it.
- Use a screw extractor: If the left-hand drill bit is not successful, try using a screw extractor to remove the stripped screw. This tool is designed to grip onto the screw and turn it counterclockwise, allowing you to remove it.
By following these simple steps, you can easily tighten a screw that keeps spinning in metal. Remember to take your time and be patient. With a little persistence and the right tools, you’ll be able to get the job done!
F.A.Q.
What is causing my screw to spin in the first place?
The most common cause is that the screw has become stripped, meaning that the threads are damaged and no longer gripping the material. Other possible causes include using the wrong size or type of screwdriver, overtightening the screw, or using a low-quality screw.
How can I prevent my screw from spinning in the future?
Use the right size and type of screwdriver, avoid overtightening the screw, and use high-quality screws. If you have to remove and reinsert the same screw repeatedly, consider using a thread-locking adhesive to keep the screw in place.
What should I do if the screw is stuck and won’t turn at all?
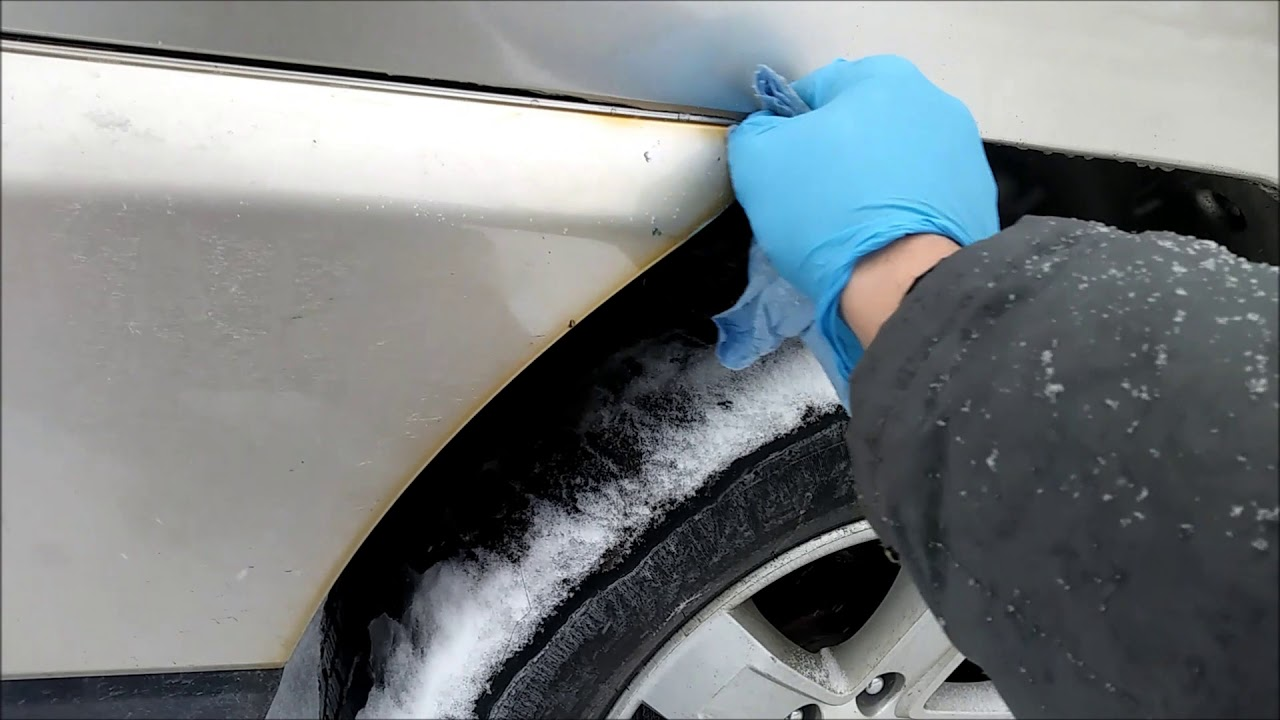
In this case, you may need to apply some lubricant or penetrating oil to the screw to help loosen it up. You can also try tapping the screwdriver gently with a hammer to help loosen any rust or corrosion.
How do I know when the screw is tight enough?
The screw should be tight enough to hold the material securely in place, but not so tight that it strips the threads or damages the material. Use a torque wrench or a screwdriver with a torque limiter to ensure that you’re applying the right amount of force.
What if I’ve tried all of the methods and the screw still won’t tighten?
In this case, you may need to consider replacing the screw or the material it’s screwed into. If the screw is too damaged or the material is too weak, it may not be possible to get a secure hold.
Leave a Reply