Sandpaper is a necessary commodity for any metalworker, from the amateur to the professional. It can be used for everything from surface preparation to final finishing work. In this article, we will review some of the most popular sandpapers and offer tips on how best to use them in your metalwork projects. Whether you are a novice or an expert looking for new tools, there is something here for everyone!
What is sandpaper?
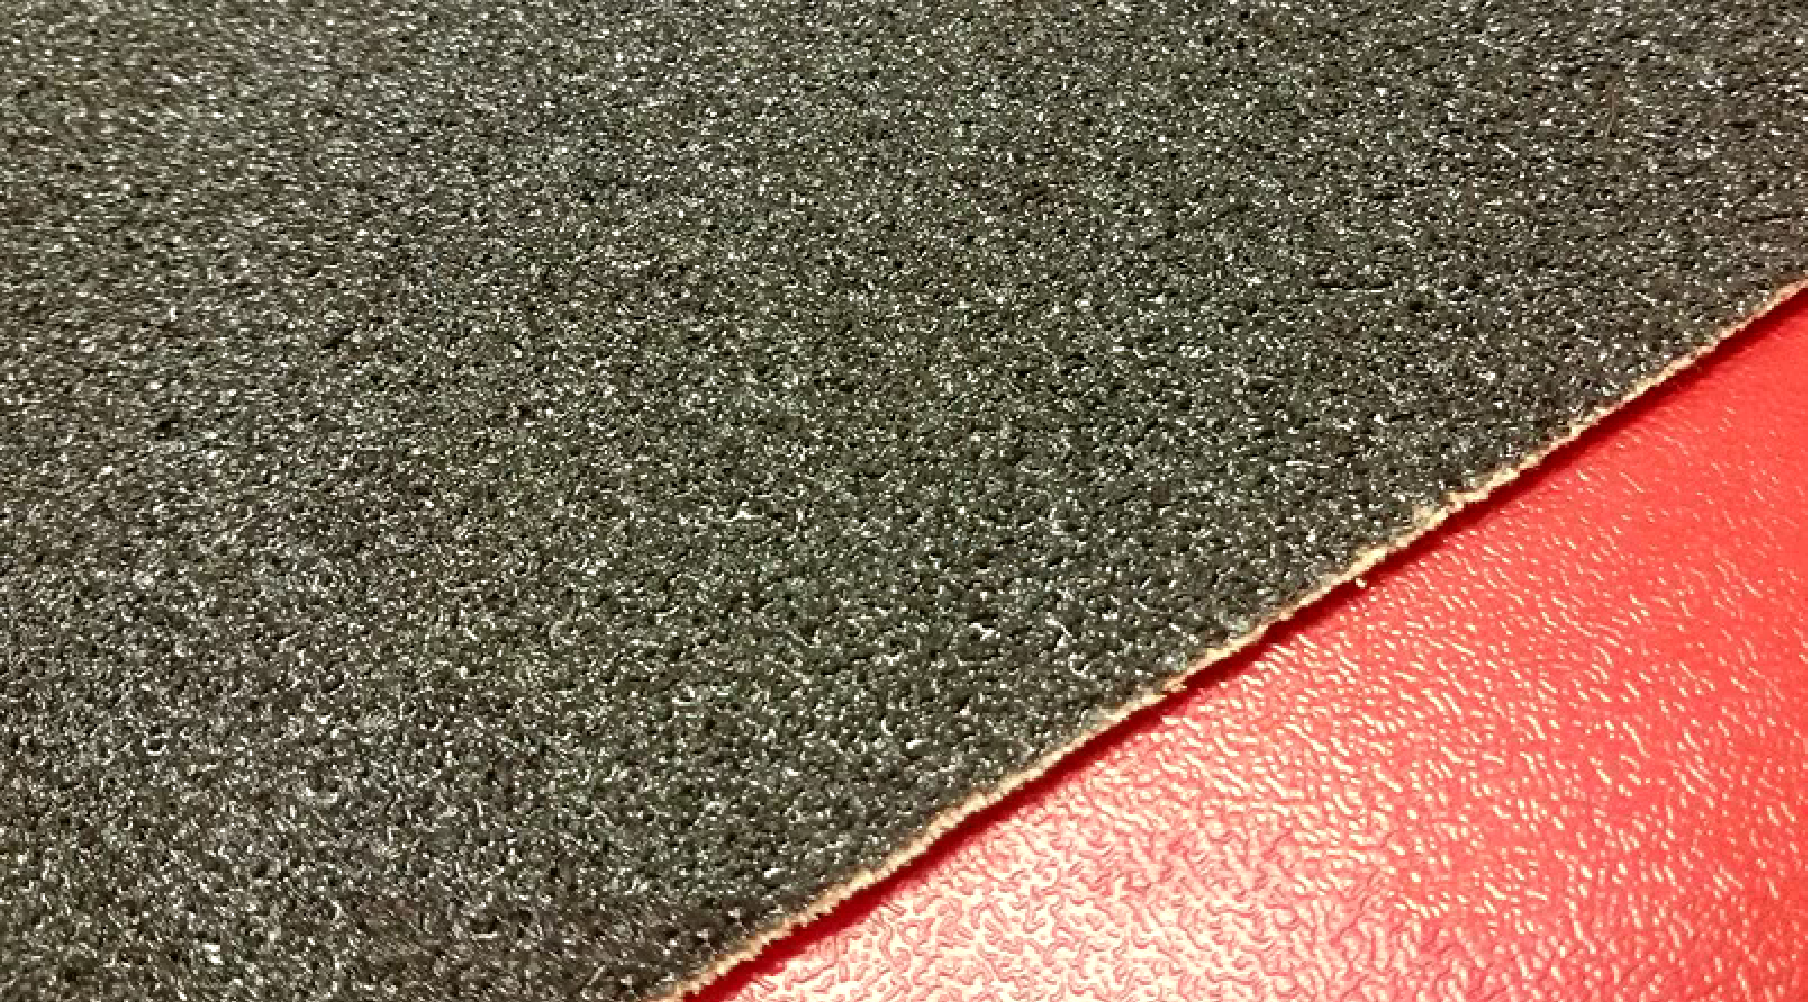
Sandpaper is a type of paper that has been coated in small particles of sand. This gives it its abrasive properties, which make it perfect for grinding down and smoothing metal surfaces.
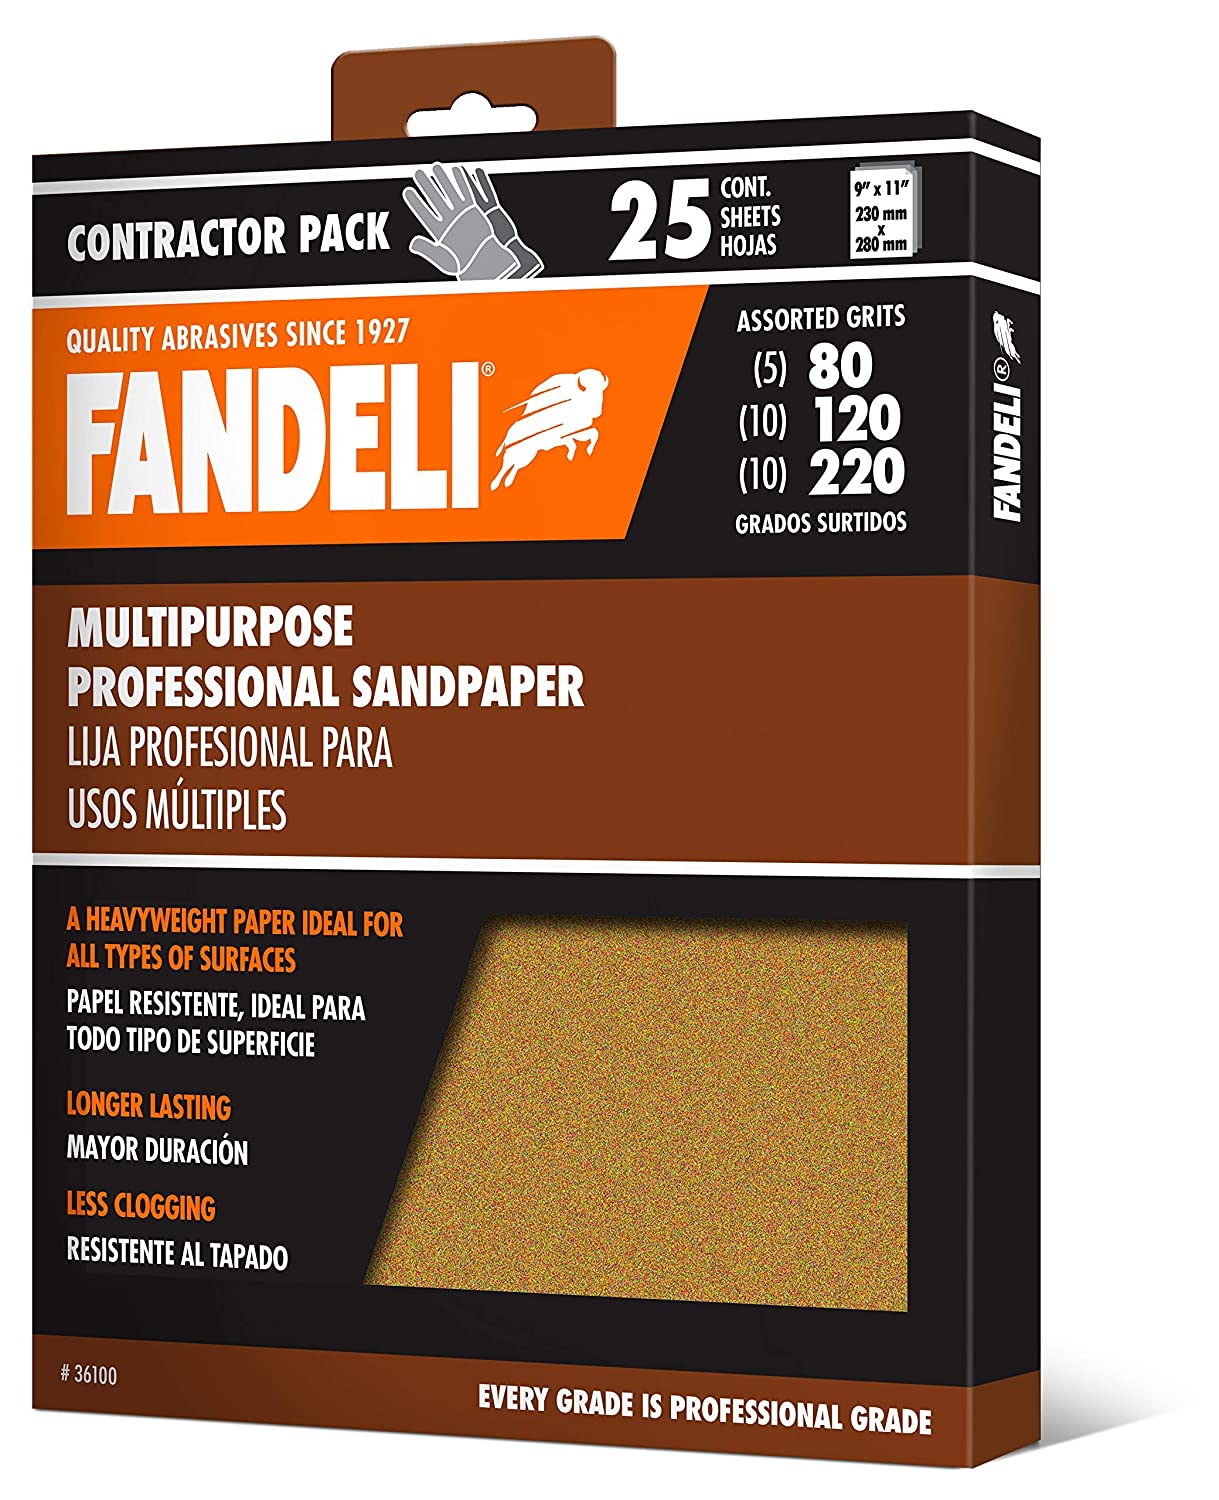
The first thing that most people think of when sandpaper is mentioned are the traditional paper-backed pieces, usually with a grit number printed on them. This is known as “grit”, which refers to how coarse or fine it will be for your purposes. The lower numbers (around 80) will be rougher and more aggressive while higher ones (180+) are softer and less likely to cut into the metal surface too much. Paper-backed abrasives have been around since at least 1834, but they only became commercially sold in 1907 by MirraCo.
What are the benefits of using sandpaper?
Sandpaper provides consistent results at an affordable price point with minimal effort required for use by homeowners and novice craftspeople alike. In addition to being easy to find in any hardware store, it can also easily be cut or adjusted as needed without damaging the material or wearing down the backing cloths excessively over time so that they will need replacement less frequently than more technologically advanced finishing tools which can be more difficult to use and can also pose a safety hazard.
What are the different types of sandpaper?
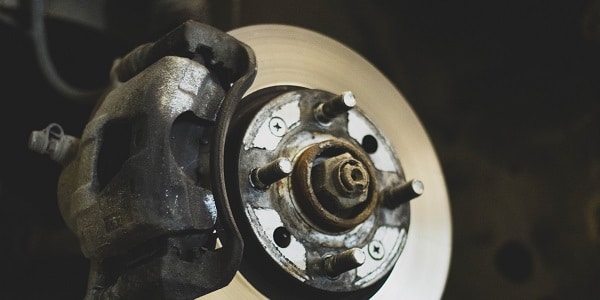
The first type of sandpaper we will look at is called “coarse grit”. This is the roughest and most aggressive type, and it is best used for removing large amounts of material quickly. It can be used on both ferrous (steel) and non-ferrous metals, but take care when using it on the latter as coarse grit can leave scratches that are difficult to remove.
Next up is “medium grit” sandpaper. This falls between coarse and fine in terms of aggressiveness, making it a good all-round choice for general purpose use. It can be used on ferrous and non-ferrous metals with equal effectiveness, although you may need to apply a little more pressure when removing material from non-ferrous metals.
Finally, we have “fine grit” sandpaper for metal rust. This is the least aggressive type of sandpaper and should only be used on ferrous materials as it can leave deep scratches in non-ferrous surfaces. It works well to smooth out marks caused by medium or coarse-grit papers, but you will have to do a lot more work with this paper if your aim is surface preparation rather than finishing work.
How should I select the right type of sandpaper?
Sandpaper can easily be found for less than $0.50 per sheet and will last through dozens of projects when properly cared for. More expensive brands or specialized sandpapers used for more difficult applications may cost up to $15 per sheet, but the extra expense is often worth it considering the results they can produce.
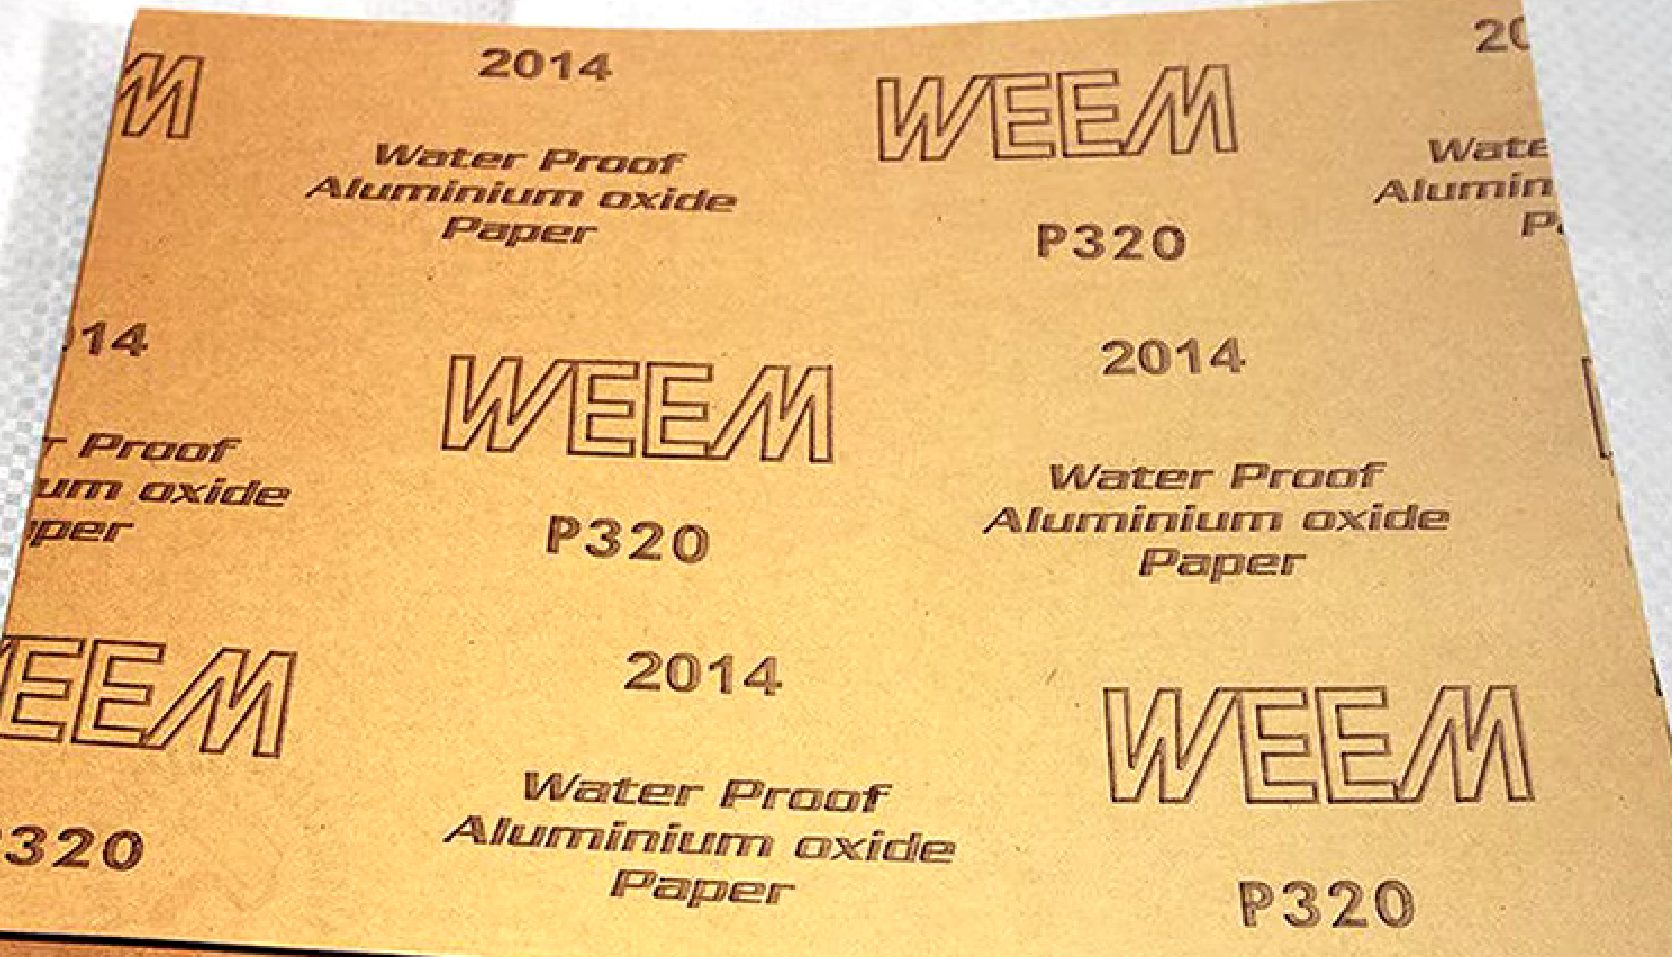
When should I use wet-or-dry sandpaper?
Wet-or-dry sandpaper should only be used in circumstances where the material being worked on can withstand getting wet without damage; this includes many woods, plastics, and composites but not metal which will corrode when exposed to moisture. When using wet-or-dry sandpaper, you should always saturate the paper with a small amount of water before beginning to sand to prevent the grit from wearing down too quickly; using oil instead of water will also help lubricate between each stroke for smoother sanding.
When should I use my orbital sander?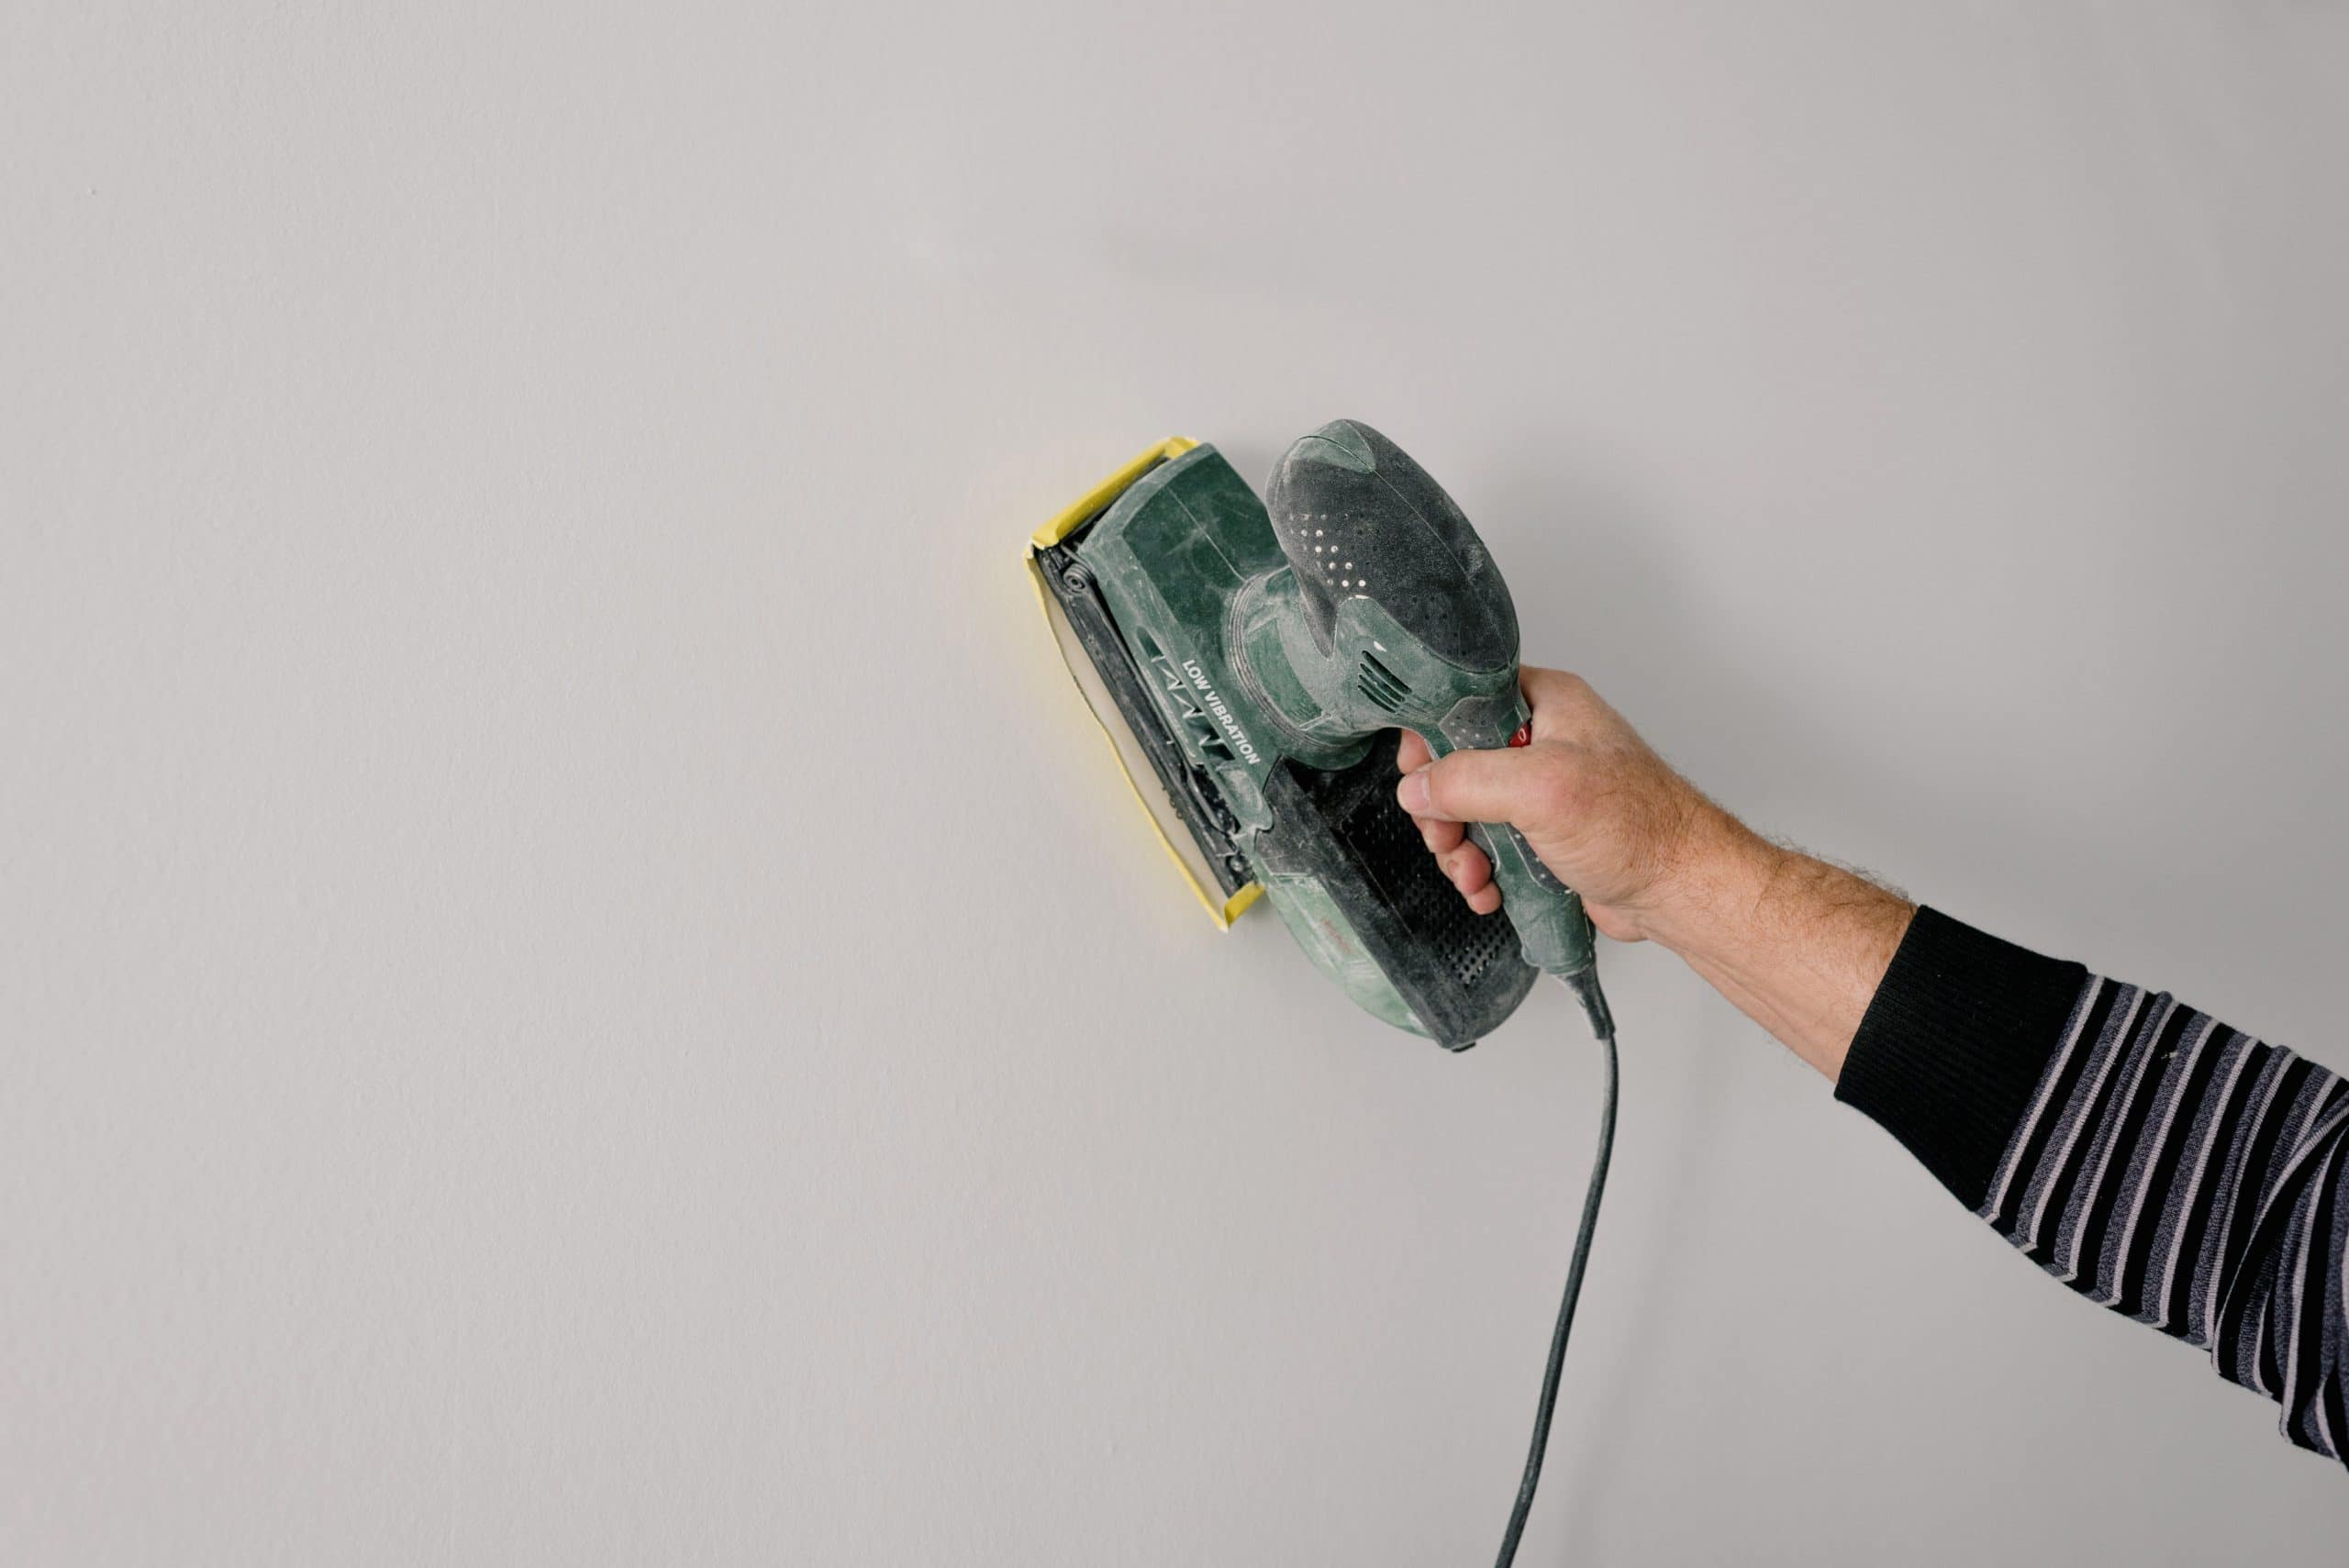
Orbital sanders are best used when working with large surfaces which would be difficult or time-consuming to cover by hand, like wooden deck boards or furniture pieces. Because they rotate at high speeds and typically create more heat than other tools, it is important that you keep an eye on your work piece as you go so that you don’t overheat any sections! What sort of support does metallic paint need after application? Metallic paints require a finishing coat (typically clear) in order to protect the metal surface beneath from damage caused by corrosion and environmental factors like ultraviolet light.
How do I achieve the best results with metallic paint?
Metallic paints should be applied in several thin layers rather than one thick coat; this will help ensure that they dry properly and provide adequate coverage without building up too much on your work piece’s surface which can lead to chipping, bubbling, and peeling later down the line. The most important thing you can do when using a metallic finish is allowing each layer of paint to completely cure before applying another; curing times vary depending on what sort of base has been used (including clear coats) but typically range from 30 minutes to 24 hours!
What are some tips for working with rust-resistant metals?
There are many ways in which metal surfaces might be treated to make them more resistant to corrosion and rust, including:
- Zinc plating (most common)
- Chromium plating
- Copper plating
What other ways can I protect metal surfaces from rust and corrosion?
The most effective way to protect a surface against the elements is with a protective coating called paint. There are many different types of paints which produce different results depending on what sort of substrate they’re being applied to, but there are two main categories that all paints fall into: enamel or lacquer. Enamels tend to be more durable but harder to apply while lacquers provide greater flexibility at the cost of longevity. In general, it’s best not use an oil-based primer before applying any type of paint because this could cause problems when trying to remove your project from its fixture!
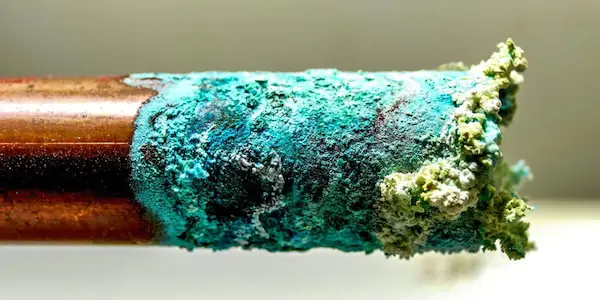
How do I remove rust from metal?
There are several ways in which you can go about removing rust from your work piece. Sandpaper is the most reliable method but will require a lot of time and patience; alternatively, there are several chemicals that can be used such as phosphoric acid, oxalic acid, muriatic acid or even bleach! With any chemical treatment you should always proceed with caution – some of these acids may cause burns if they come into contact with bare skin so wear protective gloves and eye protection when working. You might also consider using an abrasive blasting media like sand or walnut shells; these will effectively remove rust without leaving behind any harmful residue.
What are the difficulties in stripping the metal of rust?
One of the difficulties in stripping metal of rust is that there are a variety of ways to do so, and not all of them are effective or safe. In addition, some methods may leave behind harmful residues that can harm the metal surface or even cause corrosion in the future. It is important to take into account both the safety and efficacy of any method you choose before beginning work. Other difficulties may include the amount of time and effort required to achieve satisfactory results, as well as the necessary equipment and supplies. With careful planning and execution, however, these difficulties can be overcome relatively easily!
What are some tips for working with metal?
- In general, it is best to start with the coarsest grit sandpaper and work your way up to the finest. This will give you the most effective results in terms of removing material quickly and achieving a smooth finish. However, there are always exceptions to this rule so be sure to experiment until you find what works best for you.
- Always use the appropriate safety equipment including eye protection masks respirators, etc… depending on your specific application.
- Ensure that all necessary safeguards have been taken before beginning work! Did I miss anything important about sandpaper for metal rust? Sanding down rough edges is always an important step before applying paint or other finishes to your workpiece. It will help ensure that the final product looks uniform and professional, not just slapped together haphazardly!
Overall
Sanding down rough edges is always an important step before applying paint or other finishes to your workpiece. It will help ensure that the final product looks uniform and professional, not just slapped together haphazardly! Use the appropriate safety equipment when sanding, and make sure to use a variety of grits to get the best results. In addition, be sure to remove all rust before painting or finishing your workpiece – this will help protect it against further corrosion in the future. Thanks for reading!
We hope this article was helpful to you. Be sure to experiment with different types of sandpaper and techniques until you find what works best for you – the sky’s the limit when it comes to metalworking!

Leave a Reply