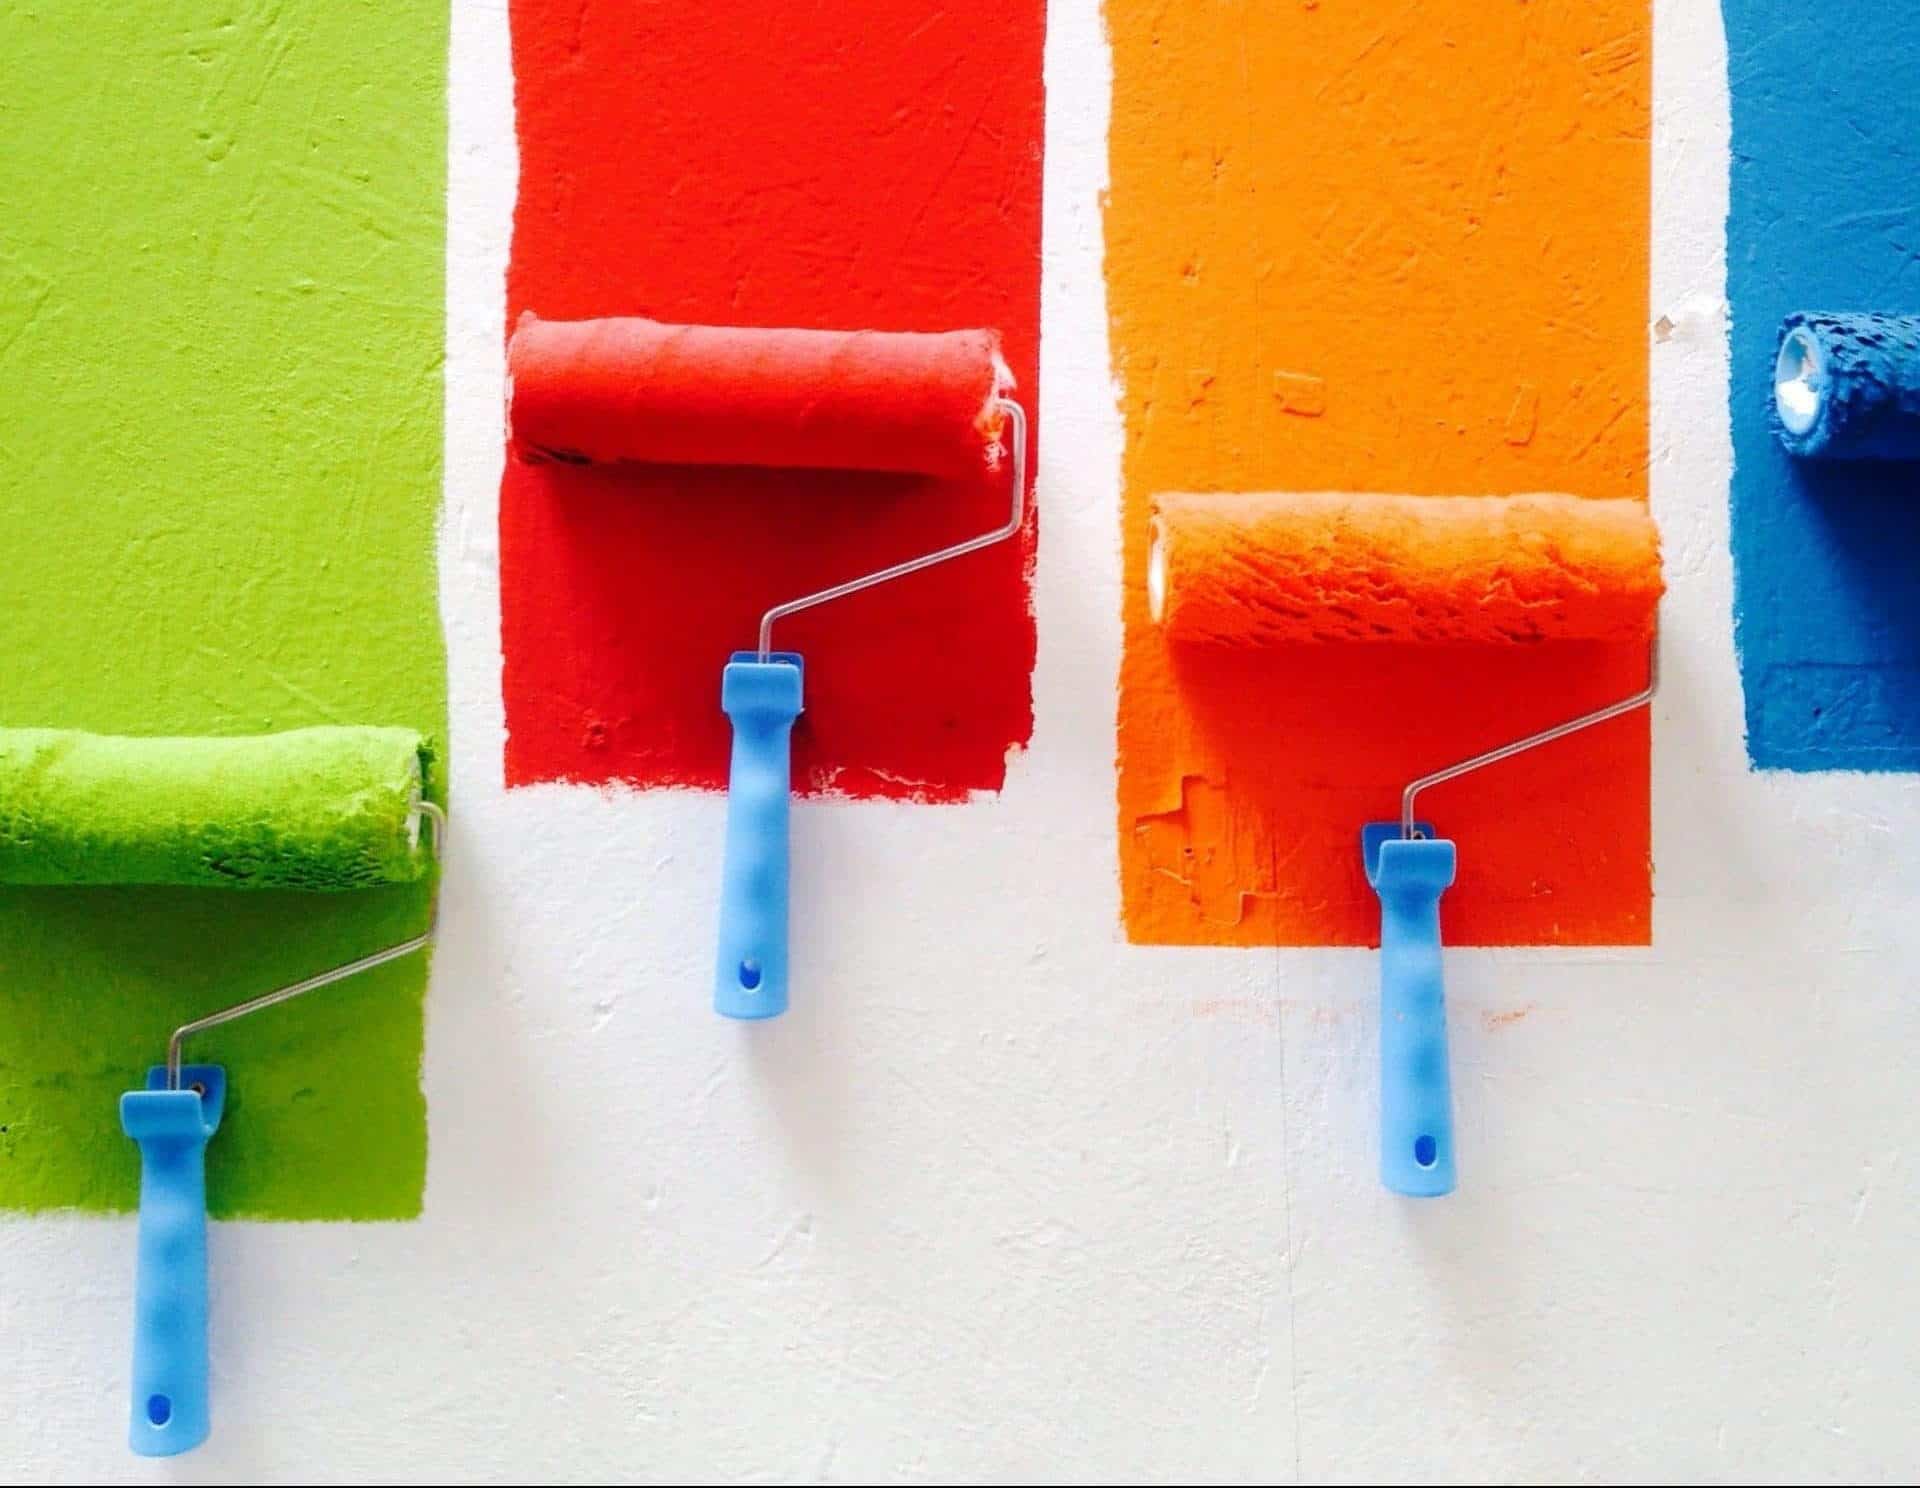
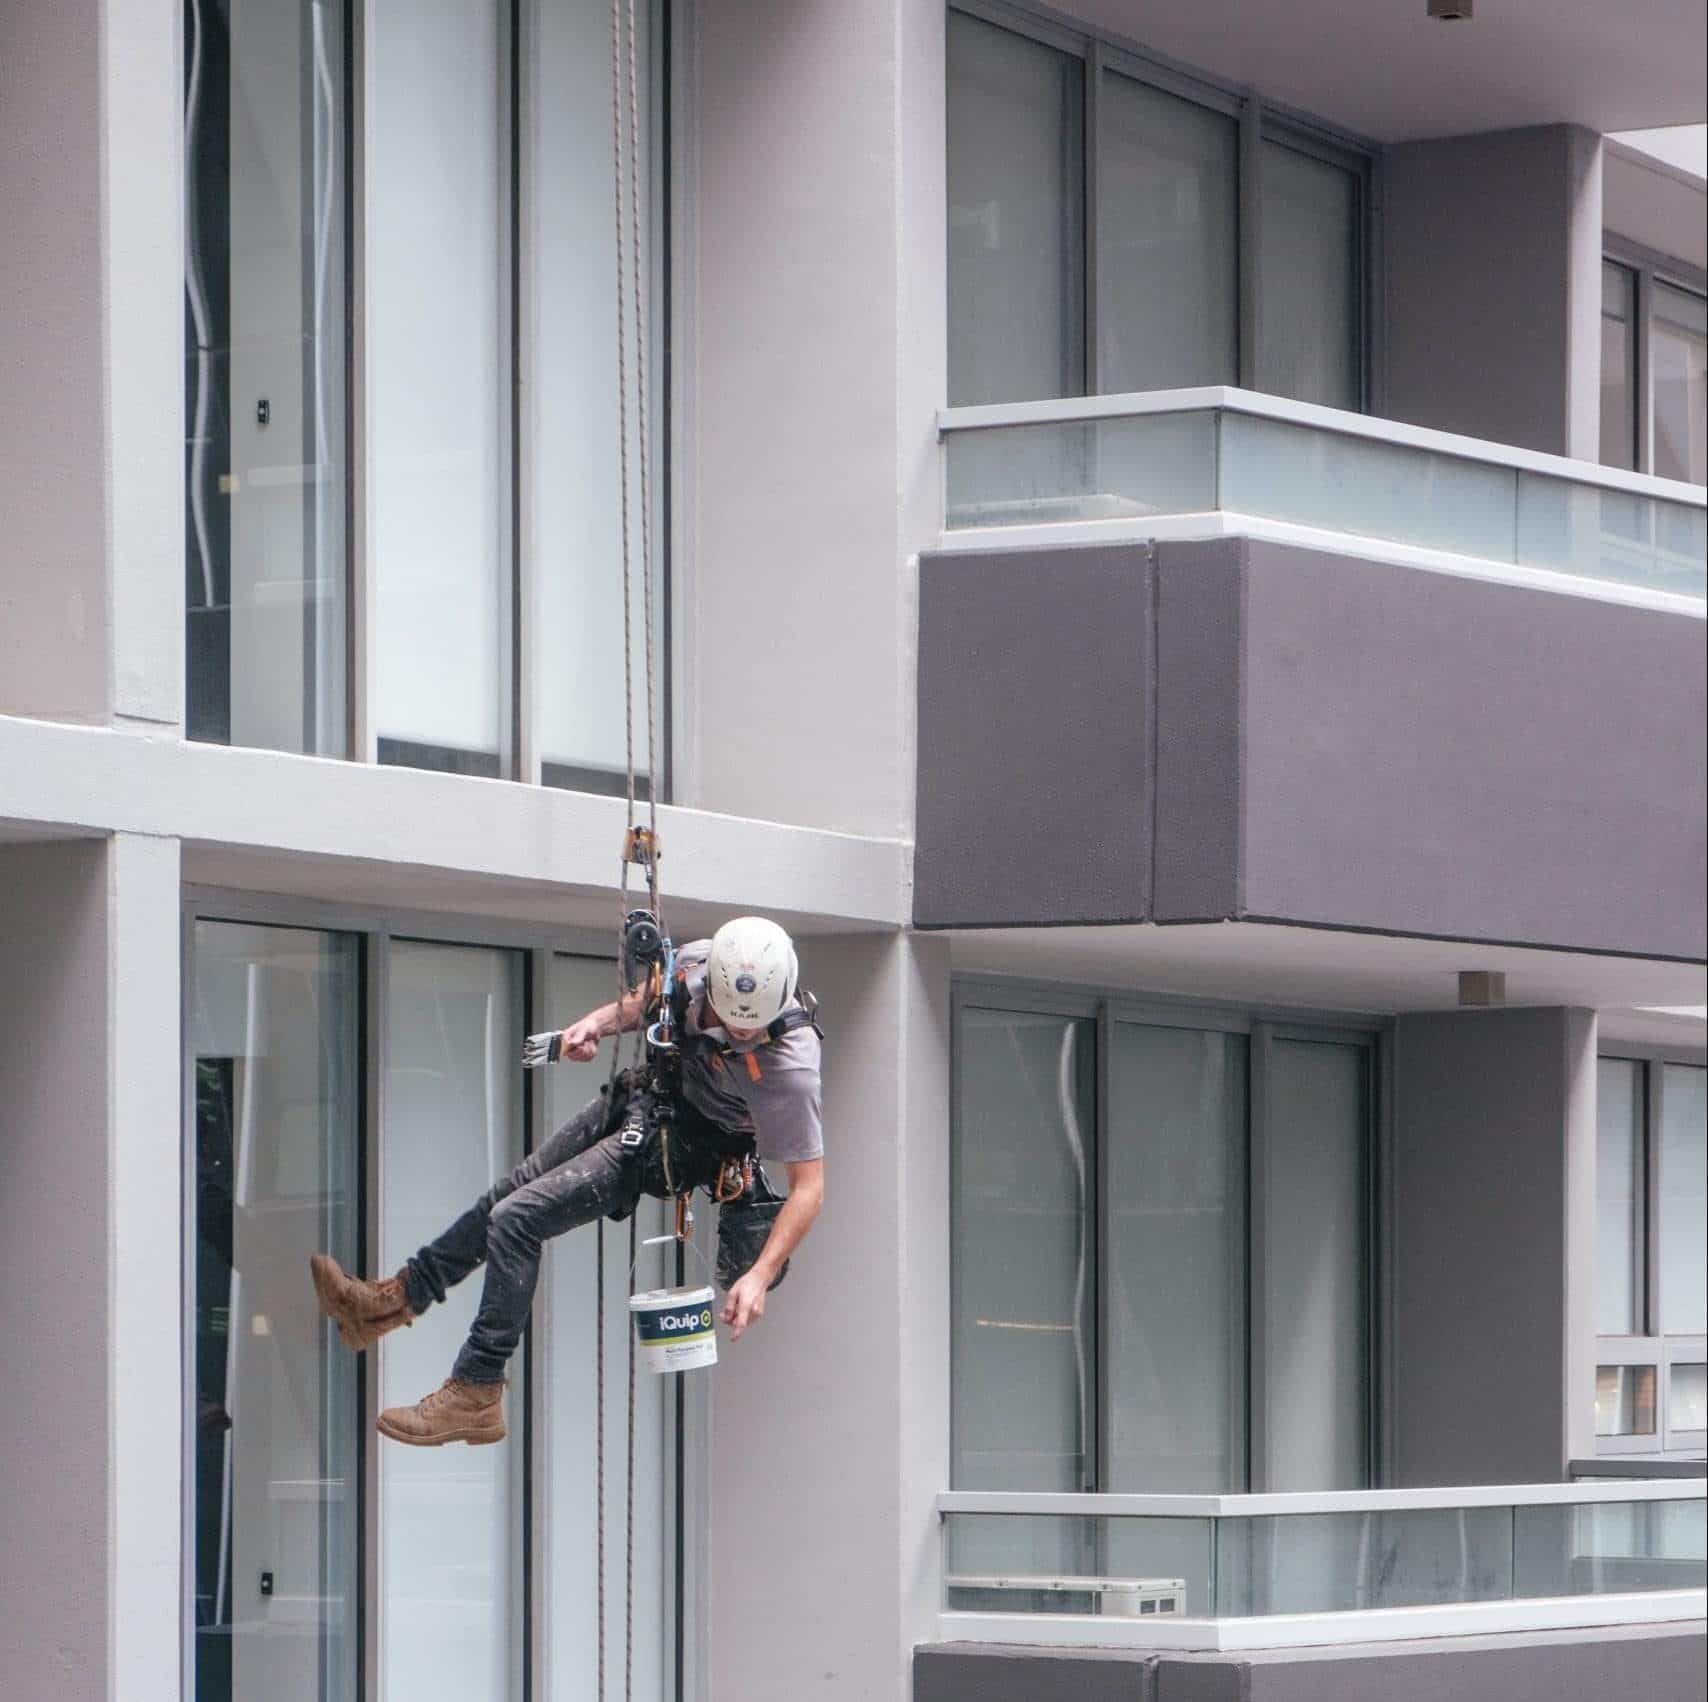
According to the U.S Department of Labor, “painting is one of the most dangerous jobs in America.” It’s also rewarding and dynamic! Anyone with a steady hand can paint walls, fences, doors – basic household items really. But it takes more than just anyone to create an intricately detailed painting on canvas or wood that makes people smile every time they pass by your home office/garage workstation is not enough just to apply paint to the surface. People use a base coat to make sure the paint is even and stays on the surface for a long time. Read on to learn more about this.
What is a Basecoat and why do I need it?
A basecoat is an important part of any paint job. It can be used to cover up old, faded paint or just improve the color overall – whether you’re covering a dark wall with white paint or painting your living room walls blue instead of red.
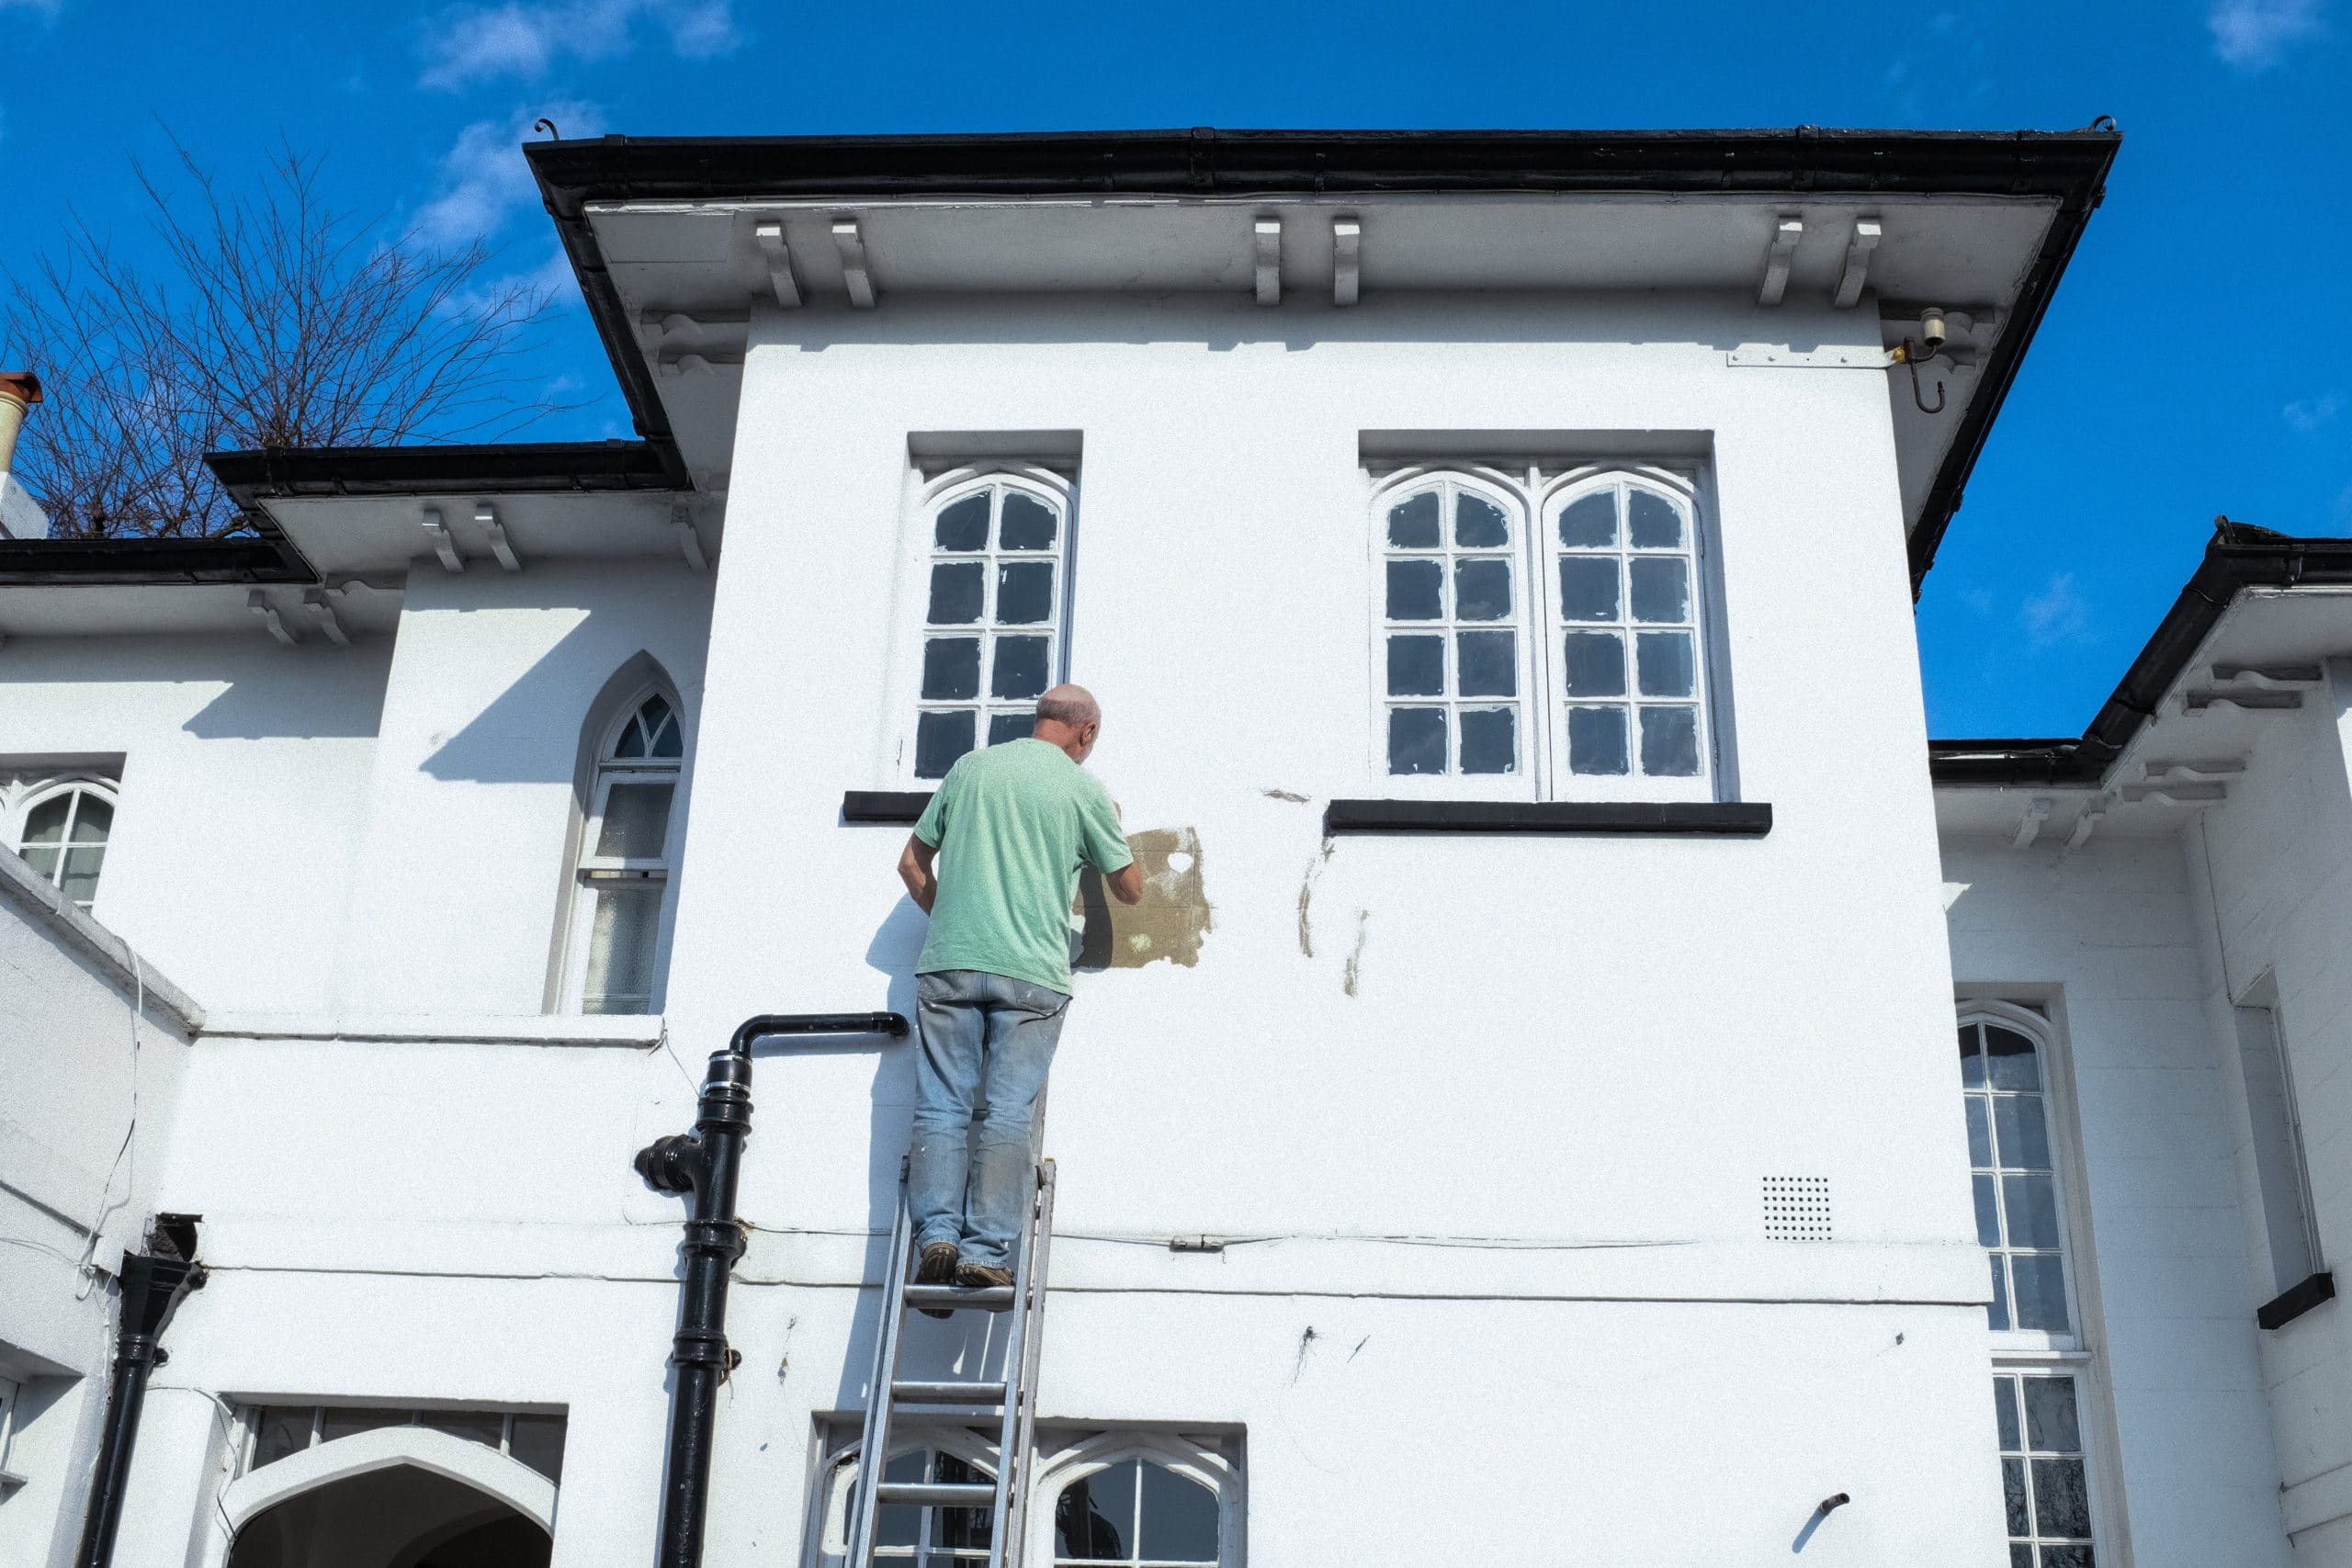
The best reason for using a primer coat before applying other layers of paints is that it provides protection from whatever element your house will be exposed to in the future (such as rain, snow, wind). In addition to protecting surfaces from natural conditions outside and around them, top coats also help protect against human damage such as scratches, chips and scuffs. More often than not though this kind of wear occurs due to neglecting maintenance rather than accidents caused by spouse/children/friends! How often you’ll need to repaint your home also largely depends on where you live – if you’re in an area with high humidity or a lot of rain, then the paint job will need to be redone more often than someone living in a drier climate.
If all this talk about basecoats has you feeling like it’s something you just can’t skip, don’t worry! Applying a basecoat is not as daunting as it may seem. In most cases, it only requires one coat and goes on smoothly over any surface. Just make sure to read the instructions on the particular type of primer/basecoat that you’re using so that you know how best to apply it for your project.
The importance of a good Basecoat
Every painting project, whether it is a small indoor paint job or a large exterior redo, should begin with a basecoat. The best way to ensure that your colors will look consistent and vibrant for years after the paint has dried is by applying a quality primer coat before anything else.
Types of Basecoats to use for different surfaces
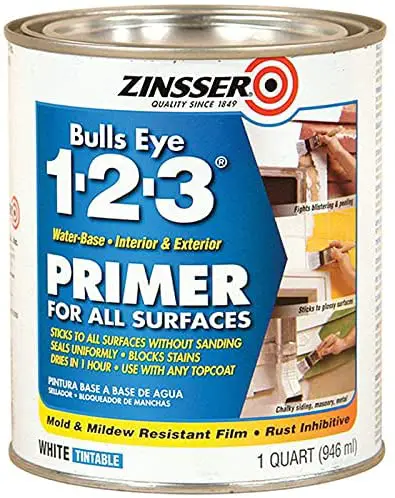
There are a variety of basecoats that can be used for different surfaces. For example, an exterior latex primer is perfect for wood, masonry, and metal surfaces, while an oil-based primer should be used on unpainted interior walls or ceilings.
No matter what surface you’re painting, it’s always important to use the correct type of basecoat in order to achieve the best results. Be sure to do your research ahead of time so that you know which type of primer will work best with the material you’re painting!
Types of Basecoats:
Latex Primers
For painted, unpainted interior and exterior wood, metal surfaces.
Benefits
Durable, fade-resistant, and easy to apply.
Oil Based Primers
For walls and ceilings that are not already painted or for new plastering jobs (unpainted).
Benefits
Penetrate deep into the surface to create a strong bond that will prevent chipping and peeling. Can be used on glossy surfaces without sanding them down first.
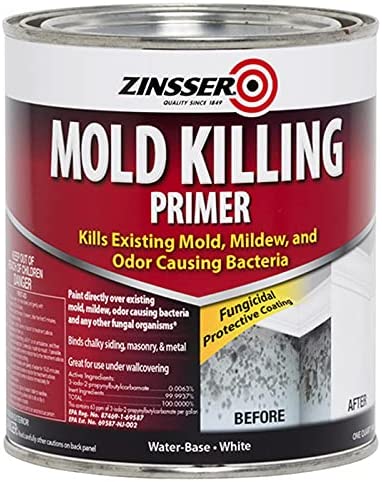
Water-based Sealer
Used only indoors in freshly plastered spaces – will keep your newly finished surface nice and dry!
Benefits
Prevents the growth of mold and mildew.
Acrylic Emulsion Coating
Interior latex “eggshell” finish coating which is good for all hard surfaces such as recently plastered rooms, wooden floors
Benefits
Washable, offers a non-glossy finish for easy cleaning.
Alkyd Primers
For use on unpainted interior or exterior wood surfaces, available in both gloss and semigloss finishes.
Benefits
Form a strong seal which will prevent chipping and peeling.
Epoxy Primers
Primers that can be used on a variety of surfaces like concrete, fiberglass, aluminum, galvanized metals etc. Have high resistance to chemicals, solvents and scratches.
Benefits
Can be used on rough surfaces without sanding them down first.
Now that you understand the importance of using a quality basecoat before any other paint job, go get started on yours! The preparation may seem like extra at first, but in the end it will be worth it. And who knows – with a little practice, you may even start to enjoy the process! 🙂
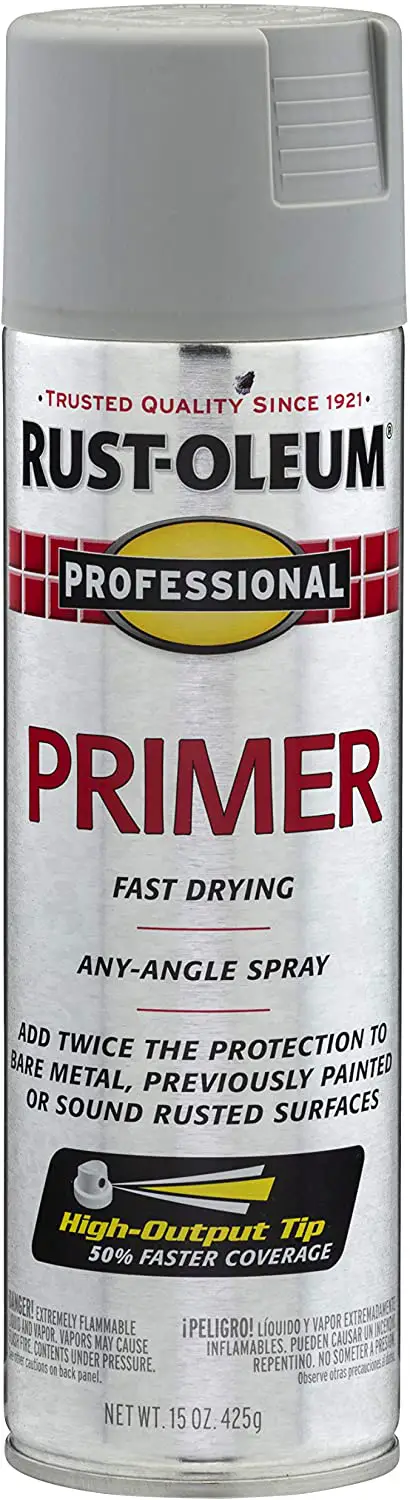
How to choose the right primer for your project?
Oil based primer is better than latex for painting exterior wood surfaces because it prevents moisture from getting trapped in the porous material, which can cause the paint to peel and chip away over time. This type of primer also penetrates deeper into the surface so that it creates a stronger bond with your finished coats.
Since acrylic emulsion does not contain oil, this means that water will bead on its surface rather than soak in like other paints do – giving you more protection! It’s ideal to use if you plan on putting any heavy items directly onto freshly painted walls or floors (like chairs) as they won’t create dents or scrapes easily! So try using an acrylic emulsion primer in rooms such as the kitchen or bathroom.
Alkyd primers are perfect for unpainted exterior and interior wood surfaces, and can be found in both gloss and semigloss finishes. They form a strong seal which prevents chipping and peeling over time.
Epoxy primers have high resistance to chemicals, solvents, and scratches – making them ideal for use on a variety of surfaces like concrete, fiberglass, aluminum, galvanized metal etc.
How to apply a basecoat properly, including what tools you will need?
It can be a little tricky to apply basecoat depending on the surface you’re working with, but it’s definitely not impossible! As long as you follow these tips and use high-quality equipment such as brushes that are specifically for this purpose (rather than just using up all of your household cleaning supplies), then there is no reason why anyone shouldn’t be able to get professional results.
What You’ll Need
- Basecoat – check which type works best with your material before getting started so that they don’t accidentally mix together!
- Brush
- Roller
- Paint tray
- Plastic sheeting
- Masking tape
- Paper towels
- Sandpaper
If you’re working on a painted surface, the first thing that needs to be done is any old paint should be completely stripped away before applying your new basecoat. This might sound like an annoying step but it will actually save you time in the long run as removing all of this can take quite some time! The best way to do this is by using high powered sanders available at hardware stores. Just remember not to hold them too close or else they could damage the surface underneath and give it more bumps than intended! Once this has been completed, wipe everything down carefully so that there are no dust particles left on its surface (this can also affect how well your basecoat adheres to the wood)
Step One
Go over any patchy areas by using sandpaper so they are smoothed out as much as possible
Step Two
Apply one layer of basecoat, rotating the brush in S-shaped motions over the entire surface for maximum coverage.
Step Three
Allow at least four hours for everything to completely dry before applying the second coat of basecoat – otherwise you may have problems later on!
Step Four
After waiting a few hours, apply a second coat of basecoat using a roller and brush. Make sure there is not too much overlap, otherwise the paint will not dry properly.
Step Five
Once that is done, allow everything to completely dry out overnight (or for at least 12 hours) before using the final product!
When it comes to walls and ceilings, you can use a brush or roller depending on what kind of coverage you’re looking for. If not applying directly onto any flooring then be sure to cover them with some protective paper so that they don’t get wet during application.
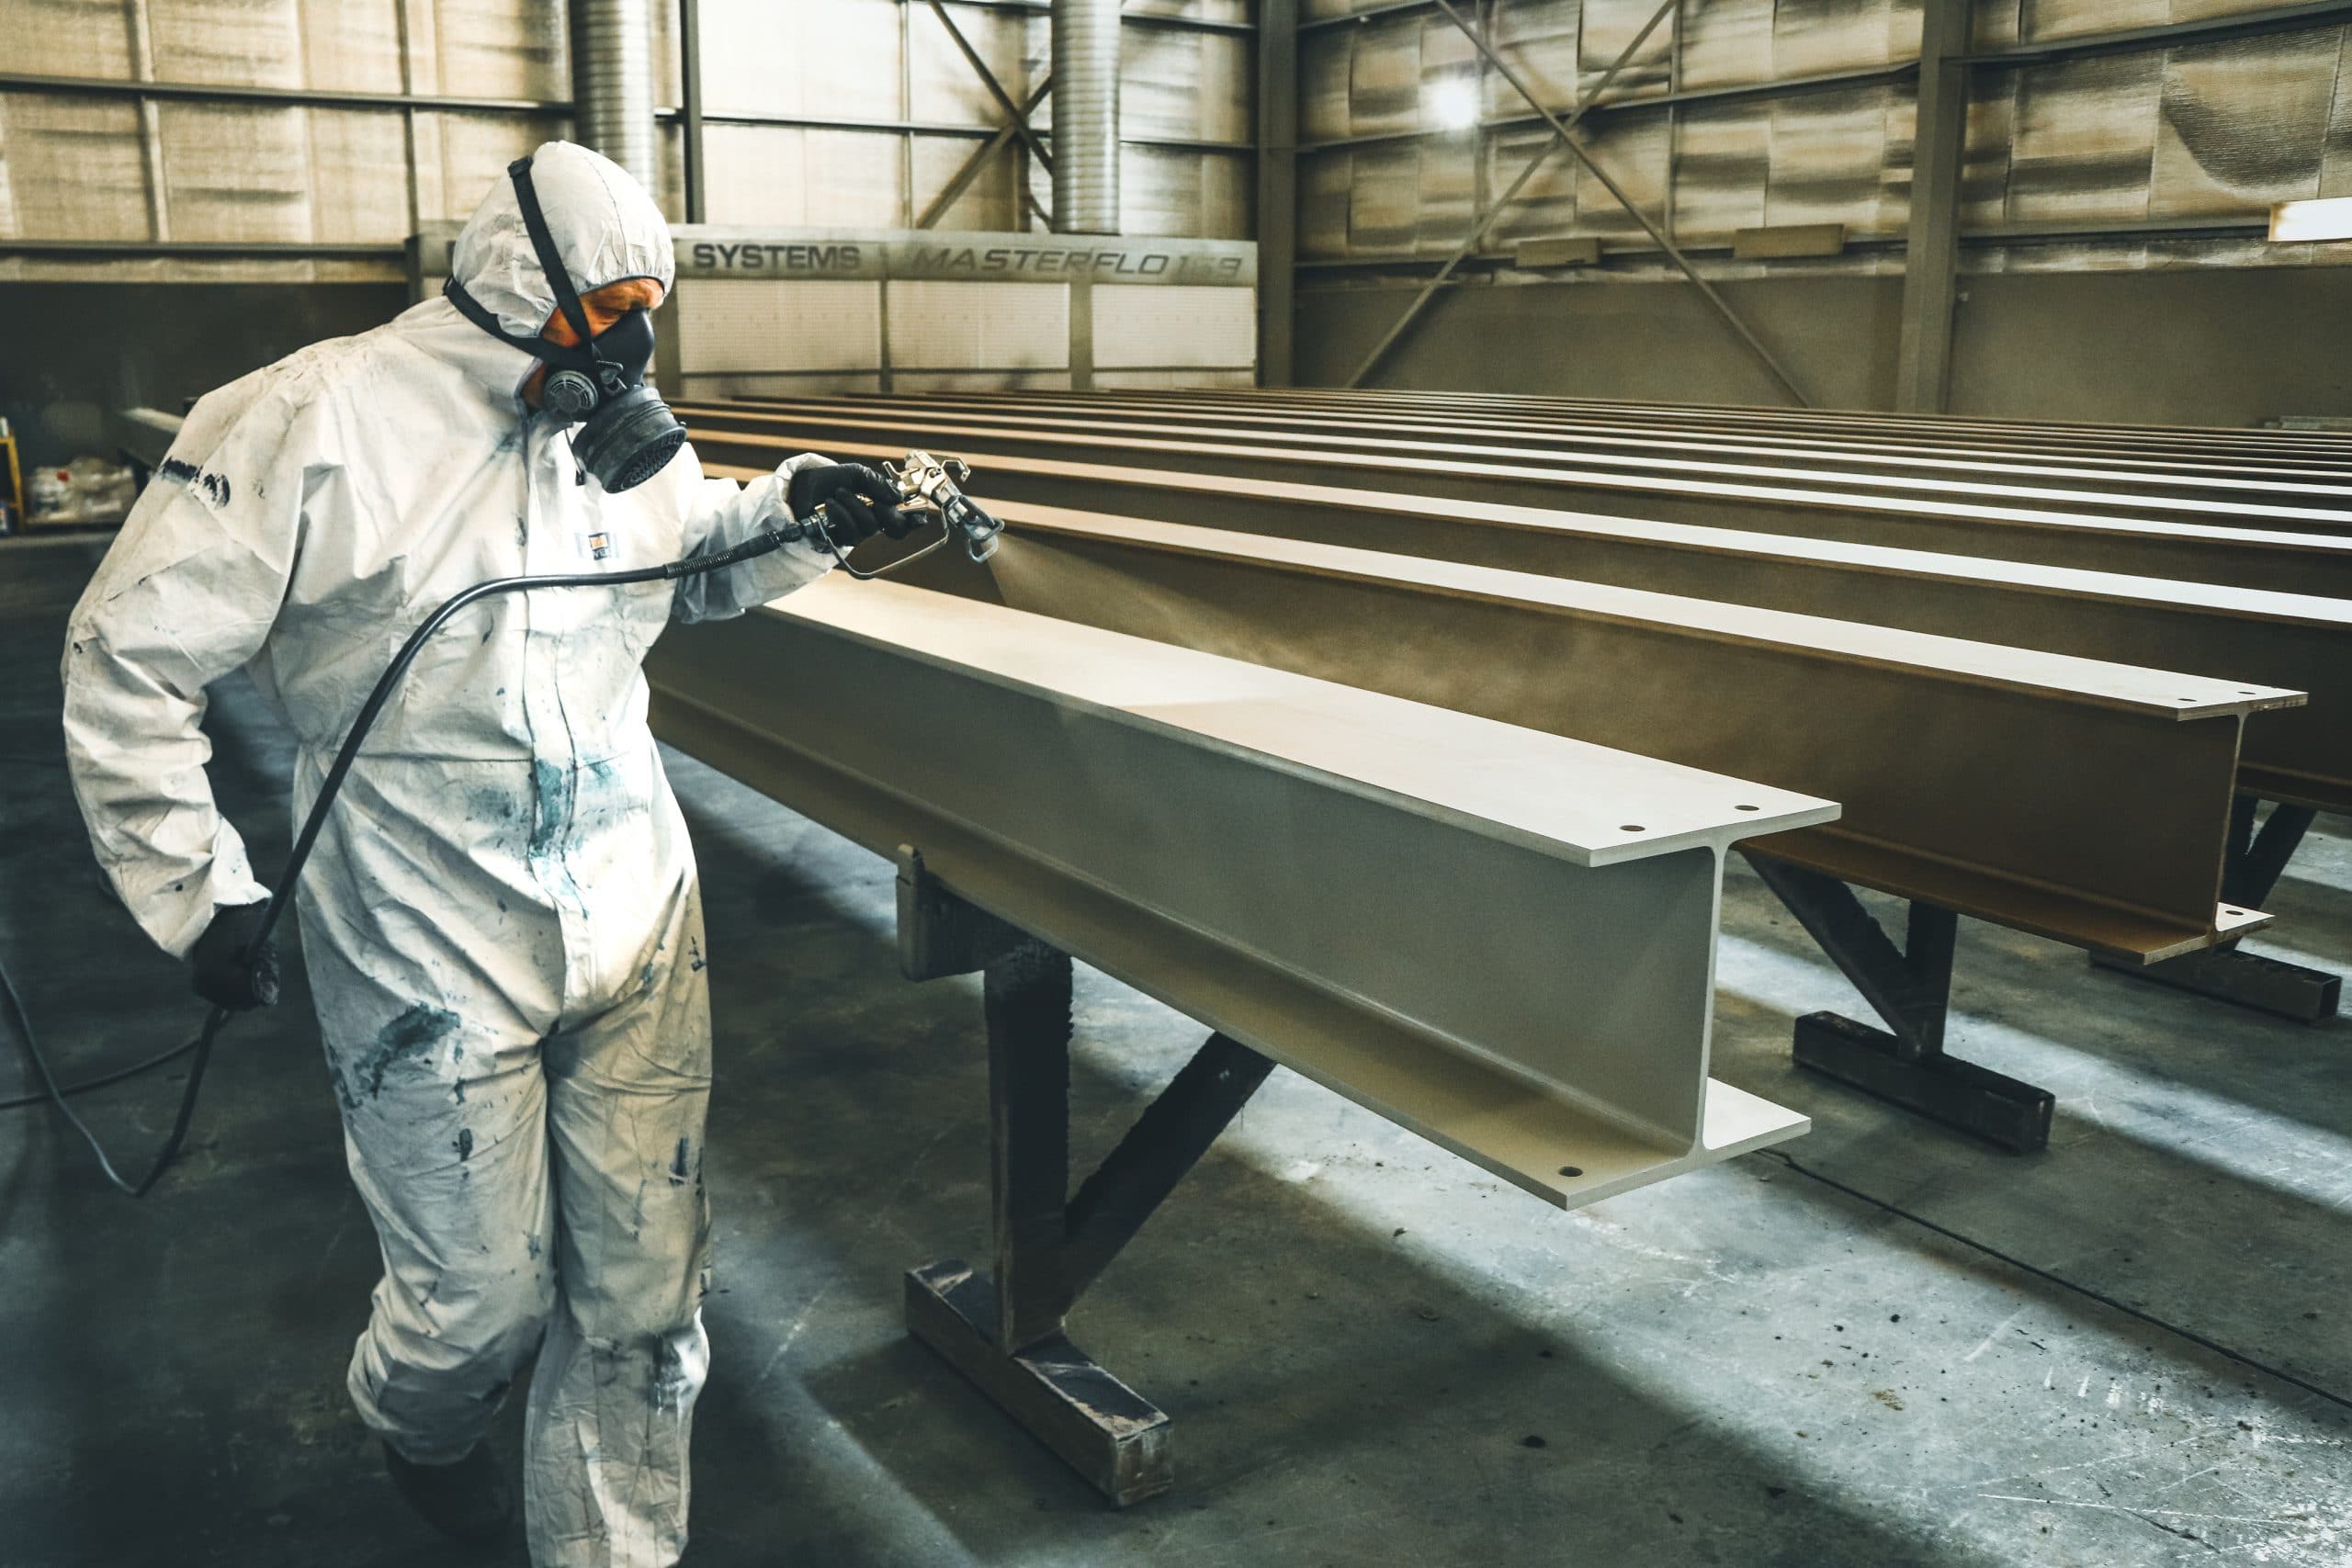
Painting tips when using an airbrush or sprayer ?
When using an airbrush or sprayer, the only difference that you need to change is how much paint will be applied. An airbrush can apply a very fine layer of paint which makes it great for doing details and adding some nice finishing touches! Sprayers are slightly different as they tend not to have such a precise control but their main advantage comes from being able to cover large areas in less time thanks to its larger nozzle size. There’s no right answer here – just what works best with your own situation!
How to tell if your basecoat is dry enough before painting over it?
The best way to tell if your basecoat has dried enough is by using the paper towel test. If it doesn’t stick to a single sheet of paper, then you’re good to go! There are also other ways that can be used depending on what material you’re working with – for example, metal tends not take as long due to how well-insulated it already is. Just make sure not use too much heat or else this could cause some nasty problems in the future.
How many coats should I apply?
As for how many coats you should apply, it really depends on what you’re looking for. A good rule of thumb is to apply two thin layers rather than one thick layer as this will help avoid any streaks or unwanted marks. If you’re painting a light color over a dark surface, then three coats may be necessary in order to achieve an even finish. When it comes to ceilings, it’s always best to use a roller so that all of the grooves are filled in – otherwise they can show through when the final coat is applied!
What color goes underneath my base coat?

This will largely depend on the color of your basecoat, but in general it’s best to use a lighter shade as this will create a better contrast and make the end result look more polished. If you’re using a dark basecoat then you can choose any color that you like – just be sure to test it out first so that there are no surprises later on!
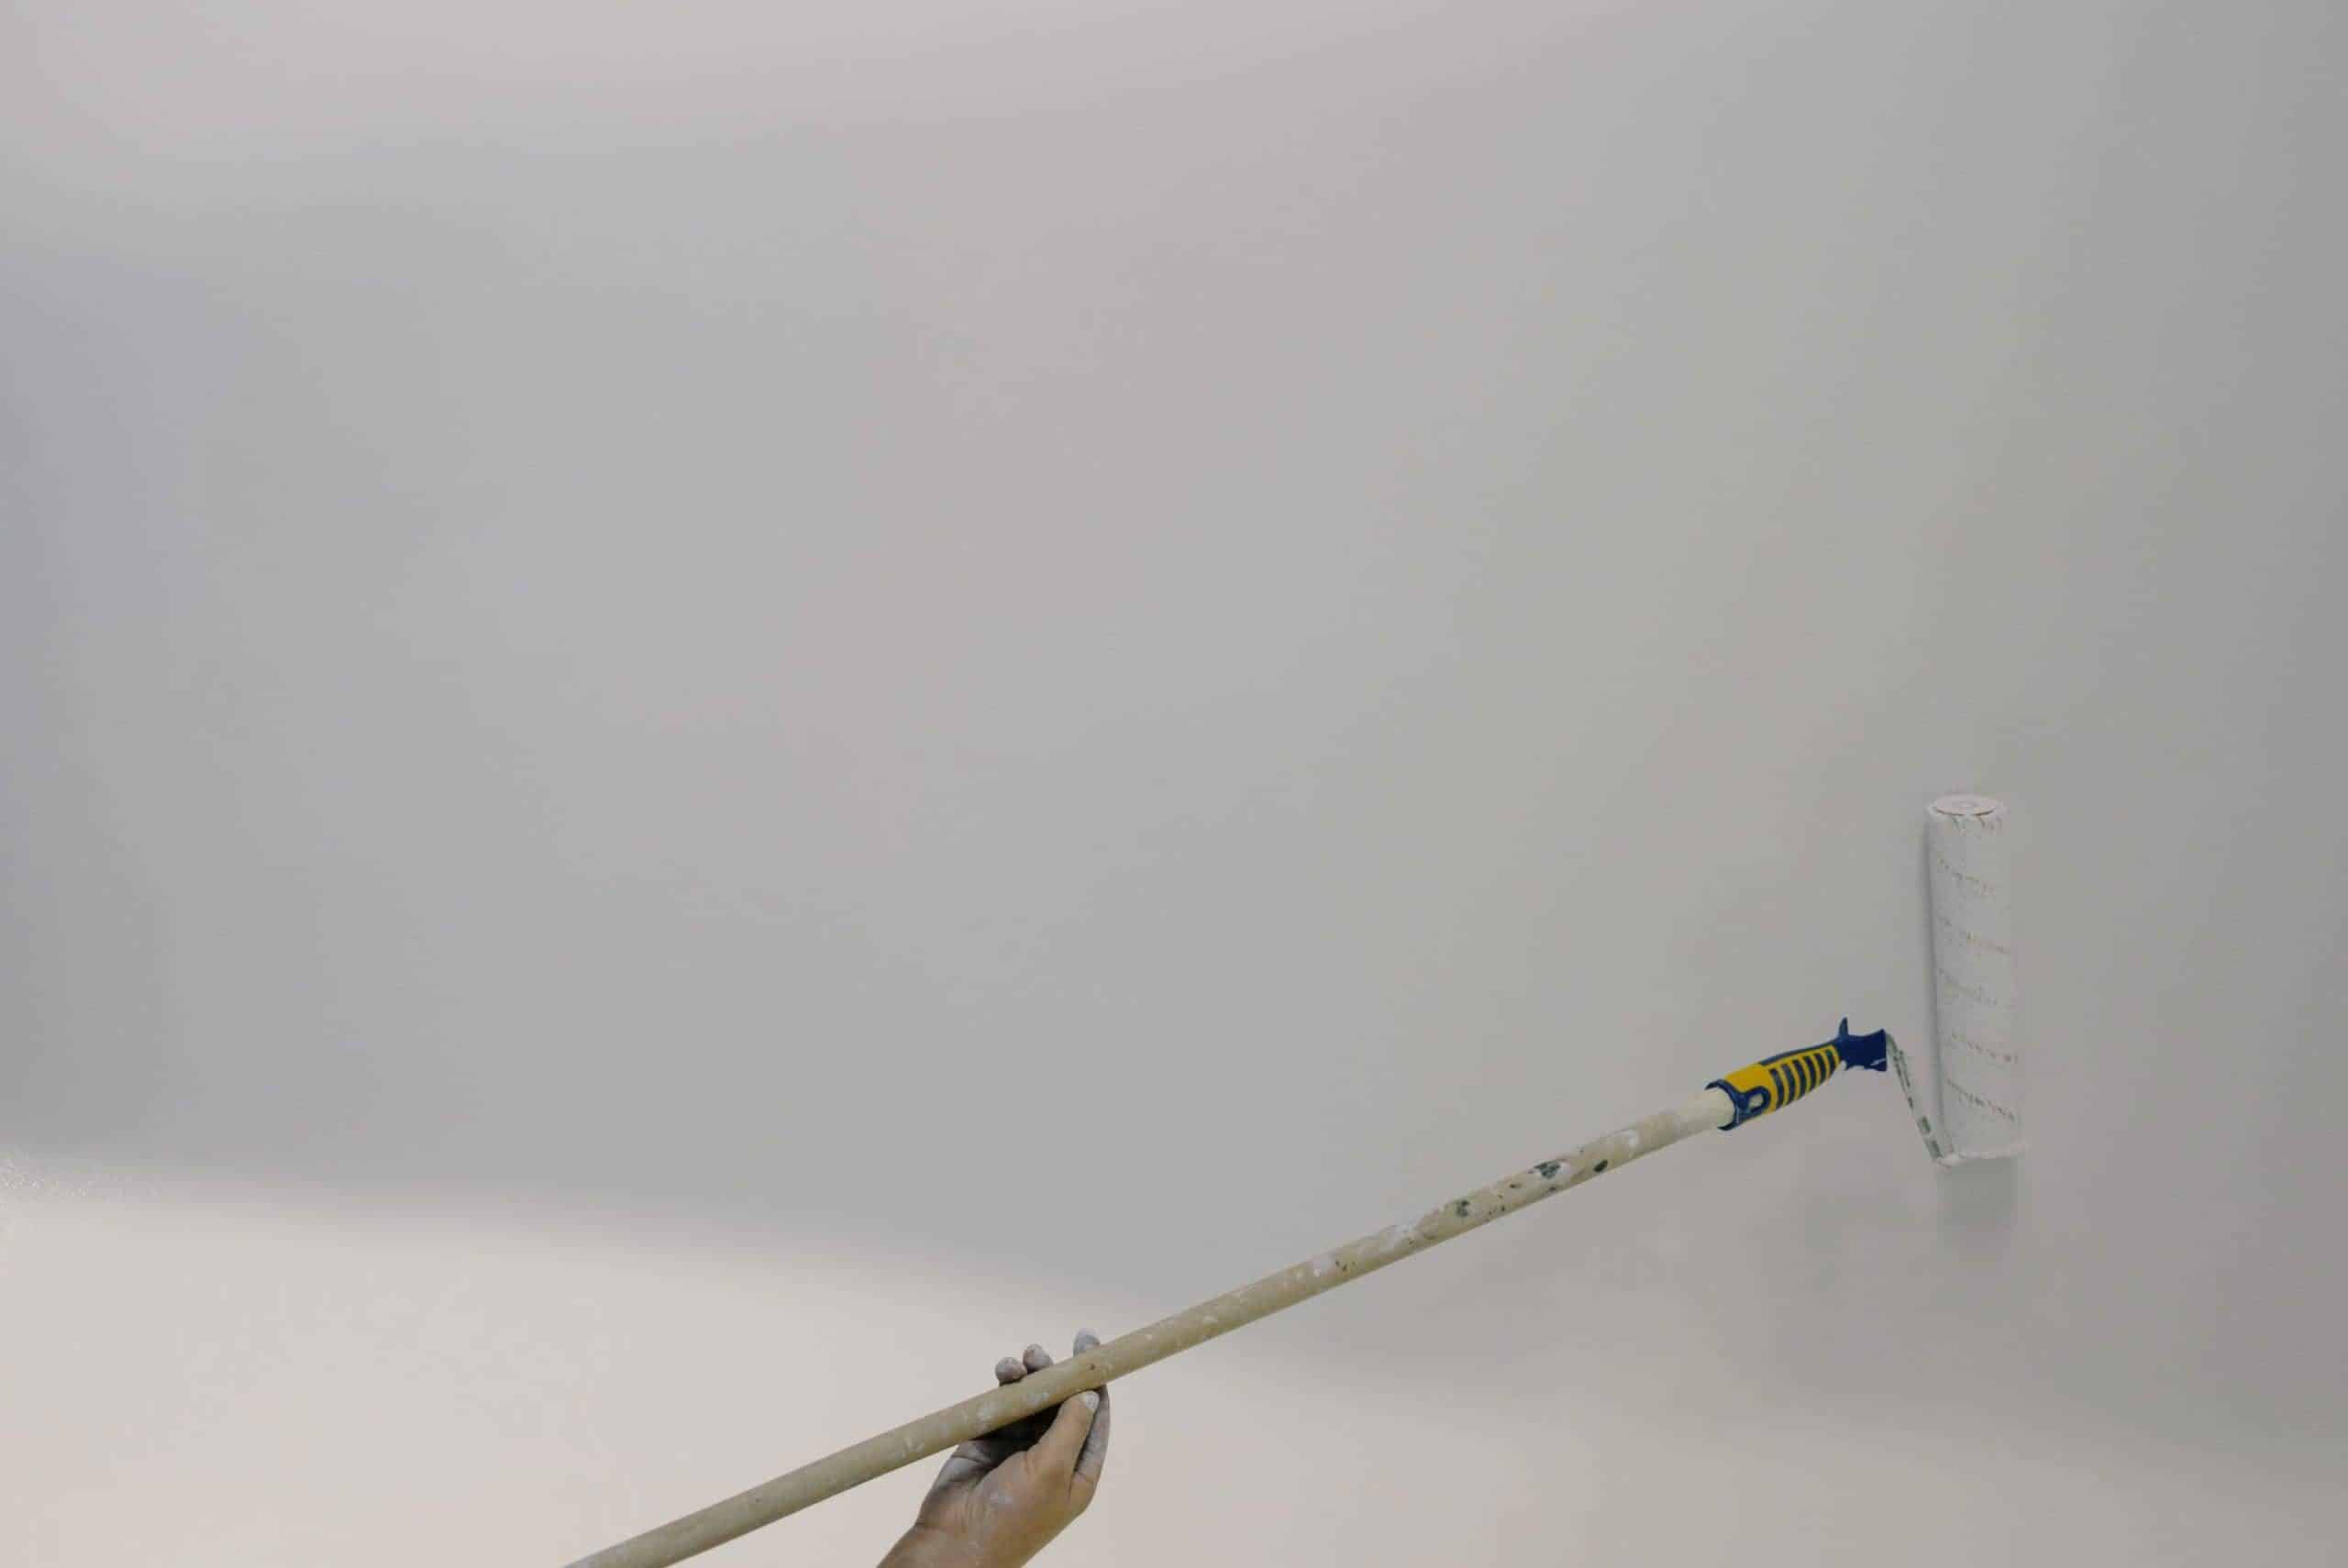
How do I get an even application of paint when painting walls and ceilings?
When painting walls and ceilings, it’s always best to use a roller as this will give you the most even finish. If you’re only doing one small section then using a brush might be okay, but for anything larger it’s best to stick with the roller. Make sure that the paint is mixed well before starting and don’t overload the roller or else it’ll start to drip! In general, keep in mind that less is more when it comes to painting – too much paint can lead to problems down the road.
How do I prepare surfaces before applying basecoat?
It really depends on what material you’re painting onto, so always remember to check beforehand if there are any specific instructions needed when dealing with wood furniture (which may require a pre-stain), galvanized metal (which will need a primer to avoid rusting) or plastic surfaces. In general, it’s always best practice to make sure that any loose pieces of paint or dirt have been removed before starting and that the surface is completely dry so that the basecoat sticks properly.
Painting tips and tricks that can save you time and money in the long run?
One of the main things to keep in mind when painting is that preparation is key. Taking the time to properly prepare your surface will save you a lot of headaches down the road, so always make sure to do this first! Another thing is to use the right tools for the job – for example, an airbrush might be great for doing detailed work but it’s not ideal for painting large areas. Just experiment until you find what works best for you and your situation! Finally, always try to paint in thin layers rather than one thick coat as this will help avoid any streaks or unwanted marks. Basecoat can seem like a daunting task at first, but with these tips in mind hopefully you’ll be able to achieve excellent results without too much trouble!
Tips on how to clean up after yourself when painting indoors or outdoors
It’s always important to clean up after yourself when painting, both indoors and outdoors. This means disposing of all the paint cans and brushes properly so that no one steps on a sharp brush or gets paint in their eyes! Make sure to have a good system for this – for example, you can use an old ice cream container as your designated paint can disposal area. If you’re doing any outside painting then it’s also important to clean up any accidental spills immediately so that they don’t cause any damage later on. All in all, just be mindful and take your time cleaning up – it’ll make the whole process much easier in the long run!
Conclusion
So that’s it for this article on basecoats! Hopefully you’re now a lot more knowledgeable about what they are, how to use them and everything else related. Now get out there and start painting with confidence – knowing that your surface is properly prepared means that the final product will come out looking great! Thanks again for reading 🙂 Please feel free to leave any questions or comments below.


Leave a Reply